How to Paint Ceramic Bowls at Home: Easy Creative Ideas for Beginners That Actually Last.
There is a shelf in many kitchens that holds one painted ceramic bowl. It usually sits near the window. It might hold keys or fruit or loose change. When anyone asks where it came from, the owner pauses before saying they made it. That pause carries a very specific kind of quiet pride.
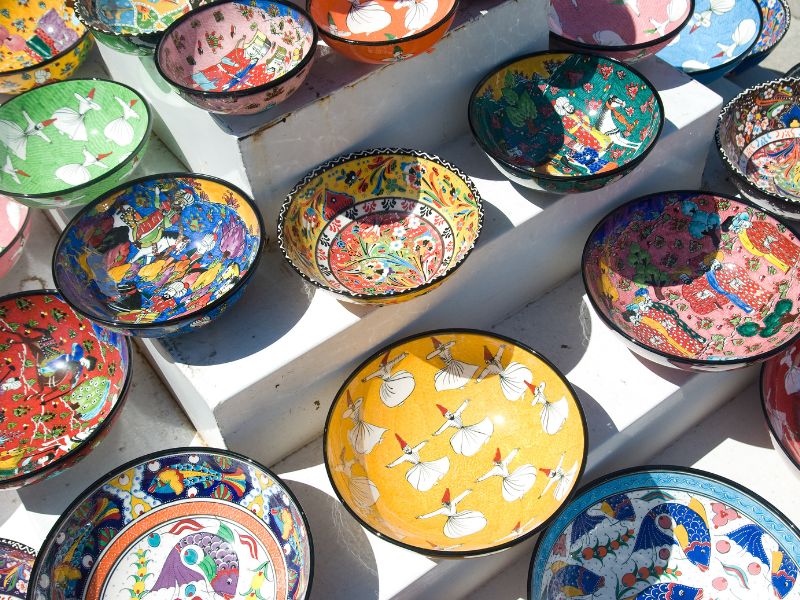
Learning how to paint ceramic bowls at home produces exactly that feeling. The results look considerably more difficult than the process actually is. A plain bowl, the right paint, and a free afternoon are genuinely all it takes.
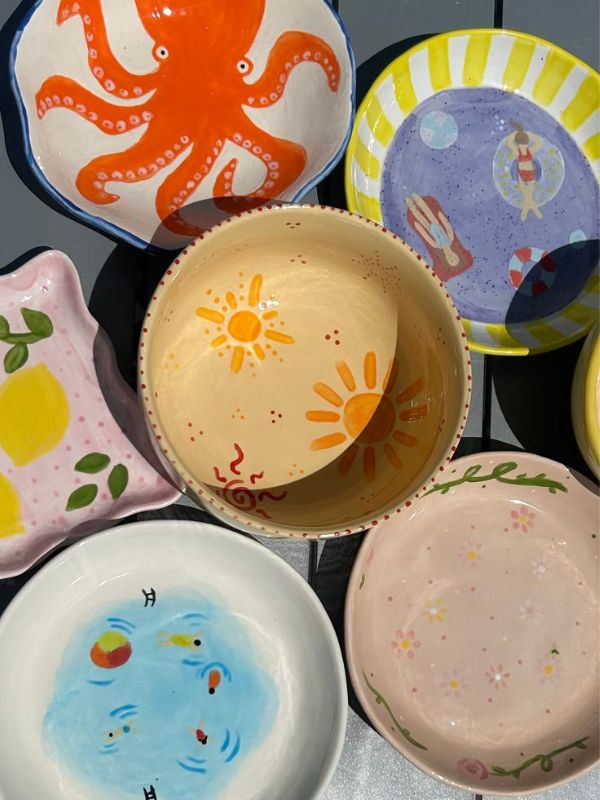
This guide walks through every stage of how to paint ceramic bowls in a way that makes the finish last for years. Not just beautiful for a week before it starts chipping off. Genuinely durable.
If you enjoy painting and decorating ceramic pieces, our post on Mini Terra Cotta Pots Crafts: Easy and Adorable Pot Decorating Ideas is the closest companion to this tutorial and uses the same techniques.
And for preschoolers who want to paint their own small ceramic pieces, our post on Garden Crafts for Preschool: Fun and Easy Nature Projects for Kids shows how to set up sessions that work for young children and adults at the same time.
How to Paint Ceramic Bowls at Home: Easy Creative Ideas for Beginners That Actually Last
Step 1: Choose the Right Bowl
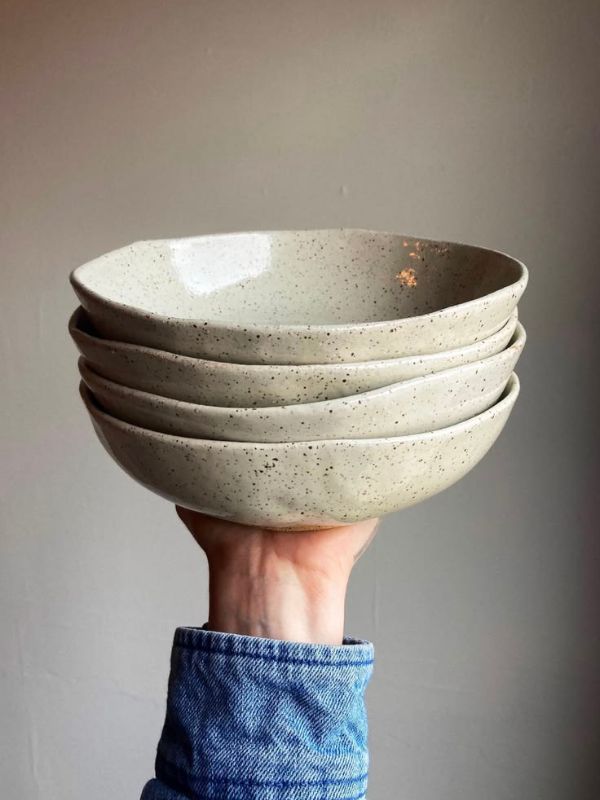
The bowl you start with sets up everything that follows. Starting with the right surface makes how to paint ceramic bowls far more forgiving.
Unglazed bisque ceramic is the best choice for beginners. It is porous and absorbs paint beautifully. You get clean lines and rich colour without extra preparation. Most craft stores stock plain bisque bowls at low prices.
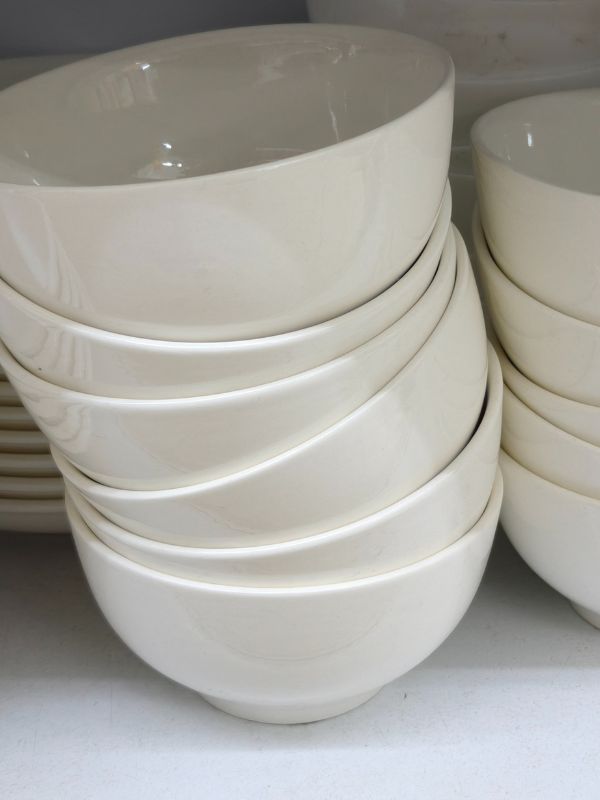
Glazed ceramic requires a different approach. Paint sits on the surface rather than absorbing into it. Lightly sanding the glaze first gives the paint something to grip. A matte-finished bowl works better than a highly polished one.
Start with a medium-sized bowl rather than something very small. A larger surface is more forgiving of slightly unsteady brushwork. It also gives you enough room to develop the design properly.
Painted ceramic bowls make beautiful gifts. For more ideas on creating meaningful handmade pieces, our most recent post, How to Create a DIY Memory Box for Kids That Preserves Their Favourite Childhood Moments shows another way to turn a simple craft into something genuinely lasting.
Painted bowls also work beautifully as garden planters. For creative outdoor DIY ideas, our post on DIY Gardening Ideas for Small Spaces and Tiny Backyards pairs naturally with a collection of handmade ceramic pieces.
Step 2: Gather the Right Supplies
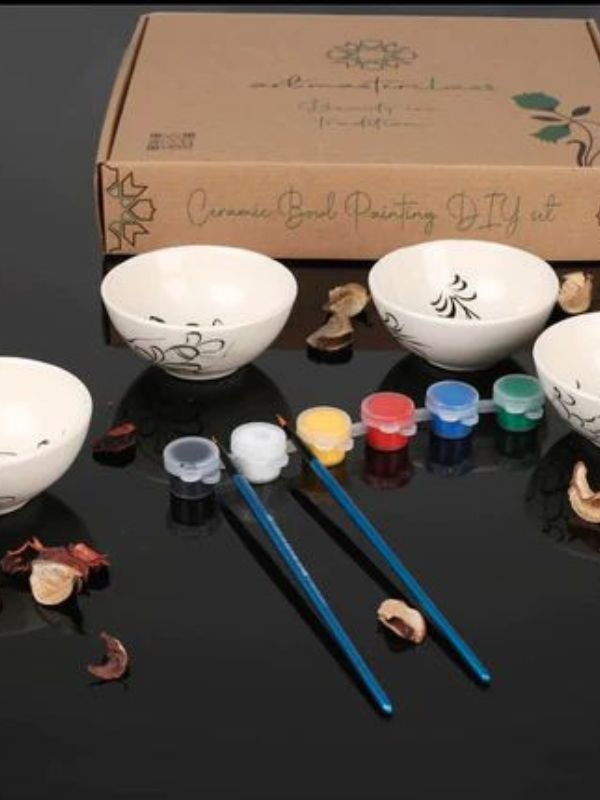
Getting supplies right is where how to paint ceramic bowls either succeeds long-term or quietly fails after a few weeks. The choice of paint is the most important decision.
Most beginners reach for regular acrylic craft paint. It is easy to find and inexpensive. The problem is that it chips without a proper ceramic sealer. Ceramic enamel paint is the better choice from the very start. It bonds with ceramic surfaces and can be oven-fired for a permanent finish.
Brushes matter as well. A wide flat brush handles base coats efficiently. A medium round brush manages most decorative work comfortably. A fine detail brush is essential for lines, lettering, and small elements. A small sponge creates soft textured effects that a brush cannot replicate.
Beyond paint and brushes, you need a palette for mixing, a jar of water, a cloth, and painter’s tape for clean geometric edges.
If you enjoy hands-on creative projects that produce genuinely satisfying results, our post on Creative DIY Crafts for Adults: 20 Fun Crafts to Try When You’re Bored at Home has twenty more ideas that sit beautifully alongside a ceramic painting session.
Texture plays a powerful role in handmade work. For ideas on creating depth across craft mediums, our post on Textured Crochet Stitches to Give Your Projects More Depth and Dimension gives you pattern thinking that translates directly into ceramic design planning.
Step 3: Clean and Prepare the Surface
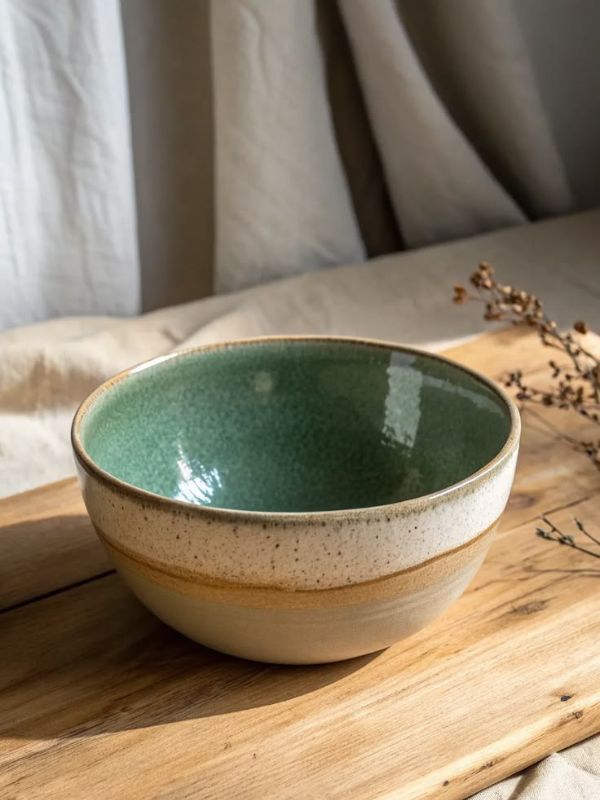
This is the step most people skip. It is also the step that causes most finishes to fail early. A clean surface is the foundation of how to paint ceramic bowls that actually hold up over time.
Wash the bowl with warm soapy water and a cloth. This removes dust, factory residue, and oil from handling. Allow it to dry completely. Even a small amount of moisture weakens paint adhesion.
For glazed ceramic, go one step further. Lightly sand the surface with fine-grit sandpaper in gentle circular motions. Wipe away the dust with a dry cloth. Clean the surface once more with a cloth dampened in rubbing alcohol. Allow it to dry fully before any paint goes on.
For unglazed bisque, a dry cloth to remove dust is usually enough. Bisque is naturally ready to accept ceramic paint.
Ceramic painting is a rich sensory experience for young children too. For more hands-on activity ideas that engage little ones, our post on Sensory Activities for Nursery Children Using Everyday Items to Support Early Learning is a wonderful companion resource for creative family sessions.
If you plan to paint outside, our post on Outdoor Crafts for Kids: Fun and Easy Summer DIY Ideas has ideas for setting up outdoor creative sessions that the whole family enjoys together.
Step 4: Plan Your Design Before Any Paint Goes On
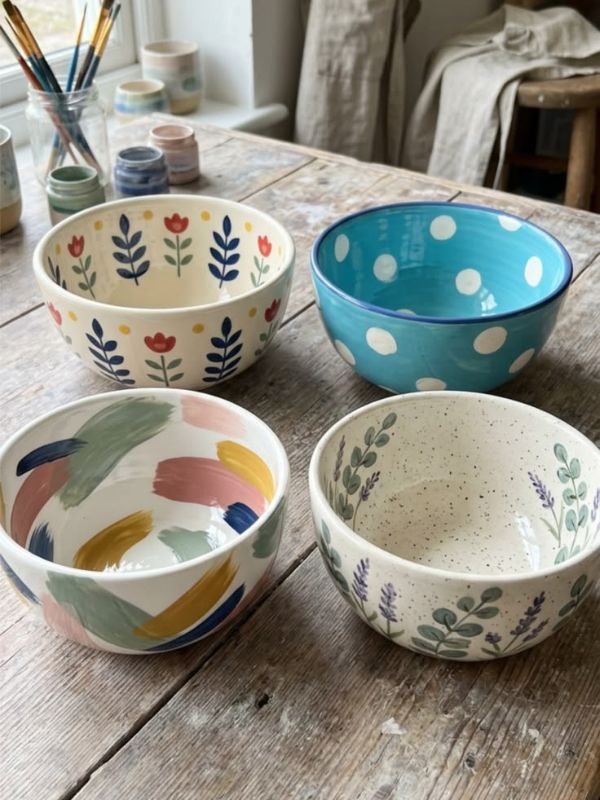
Planning before painting is one of the most underused habits in how to paint ceramic bowls. Most beginners paint directly onto the bowl without a sketch. Mid-session decisions become stressful. Some cannot be undone.
Sketch the rough design on paper first. It does not need to be a technical drawing. A loose shape showing where main colours will sit is enough. It answers the important questions before any paint touches ceramic.
Choose a colour palette before opening any paint. Three or four colours that work together produce more cohesive results than six or seven competing ones. Earth tones, a monochromatic range, or two neutrals with one warm accent all tend to work well on ceramic surfaces.
For geometric patterns, mark the key lines lightly on the bowl with a pencil. Pencil wipes off easily with a damp cloth if needed.
For design inspiration and ideas on creating personalised handmade pieces, our post on Wood Burning Craft Ideas: How to Make Beginner Friendly Projects You Can Display or Sell gives you design guidance that translates naturally into ceramic painting planning.
For autumn-themed bowl colour palette ideas, our post on DIY Fall Wreath Craft for a Bare Front Door: Easy Budget-Friendly Autumn Decor That Looks Expensive is full of warm seasonal colour combinations that work beautifully on ceramic.
Step 5: Apply Your Base Coat
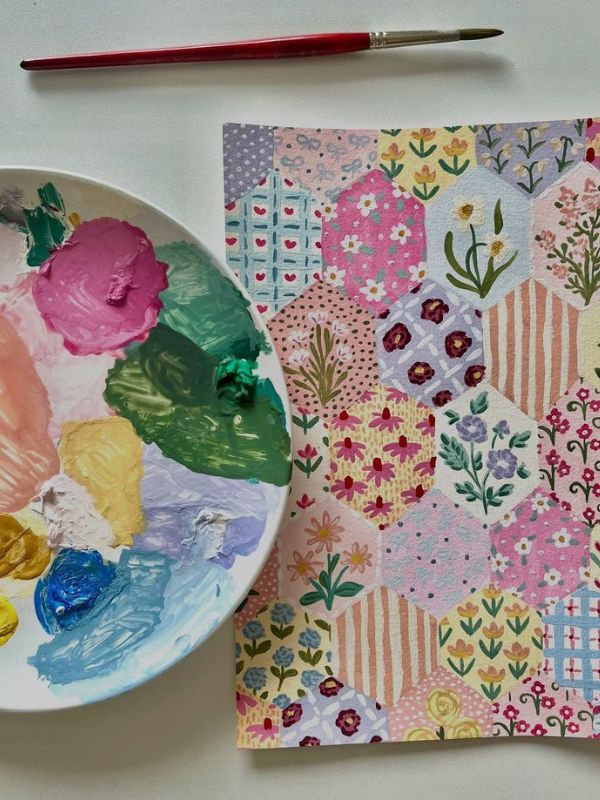
Not every design needs a base coat. If the bowl is already white and the design is detailed, painting directly onto the surface can work. A coloured background, though, changes the whole result. The base coat is an important stage of how to paint ceramic bowls that look polished rather than rushed.
Apply the base colour in two or three thin layers rather than one thick coat. A thick coat drips, pools at the base, and looks streaky when dry. Thin layers build up smoothly and evenly.
Use a wide flat brush on the outside of the bowl. A round brush follows the interior curve more naturally. Allow each coat to dry fully before assessing whether another layer is needed.
For toddlers who want to be involved alongside an adult ceramic session, our post on Summer Crafts for Toddlers That Keep Little Hands Busy All Day has age-appropriate creative activities that keep young children happily engaged.
Painting ceramics is a wonderful activity to share with children. For more ideas on creative sessions with kids, our post on How to Make Easy Fall Handprint Crafts for Kids That Turn Into Meaningful Keepsakes shows more ways to involve children in seasonal creative projects.
Step 6: Paint Your Design Layer by Layer
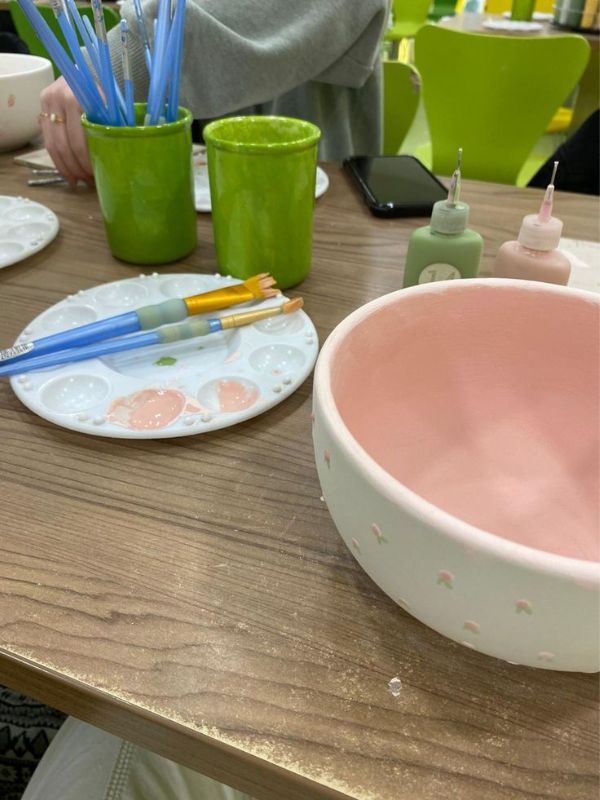
Building up a design in layers is how to paint ceramic bowls that look professionally made. Most beginners try to complete each element in a single coat. The result is thick, slightly uneven paint that looks heavy rather than deliberate.
Start with the largest shapes in your design. Fill the main areas of colour first. Move to medium-sized shapes next. Save the smallest elements for last.
Allow each layer to dry before painting over it or beside it. Wet paint meeting wet paint muddies colours and removes definition. Ten to fifteen minutes between layers costs nothing.
Build colour intensity gradually across multiple coats. Ceramic paint often looks lighter when wet than when fully dry. Apply two or three coats to reach the depth of colour you want.
Ceramic bowl painting works brilliantly for older children and teens too. For more creative craft ideas that actually appeal to that age group, our post on Fun DIY Crafts for Teens: Creative and Trendy Projects That Actually Feel Cool to Make is a great resource for family craft sessions.
If you enjoy learning new creative crafts from the very beginning, our post on How to Crochet for Beginners: Everything You Need to Start Your First Project Today walks you through another beginner-friendly creative skill with the same patient approach.
Step 7: Add the Finishing Details
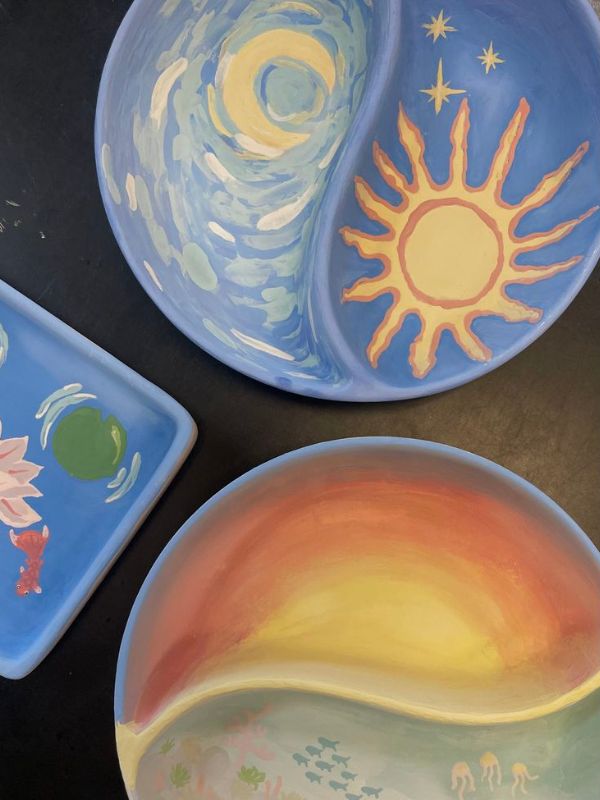
The finishing detail stage changes everything. This stage of how to paint ceramic bowls is where a painted object becomes something that looks considered and individual rather than simply covered in colour.
Outline the main shapes with a fine brush loaded with a slightly deeper shade of the same colour. This creates a shadow effect. The shapes appear to lift off the surface rather than sitting flat.
Add small repeating elements at this stage. Dots, fine lines, leaf shapes, or handwritten text all belong here. Attempting fine detail before the foundational layers are dry results in smearing.
Stand back from the bowl before declaring it finished. Small details that look significant up close often matter less than the overall composition. A distance view shows the bowl as a complete piece rather than a collection of individual marks.
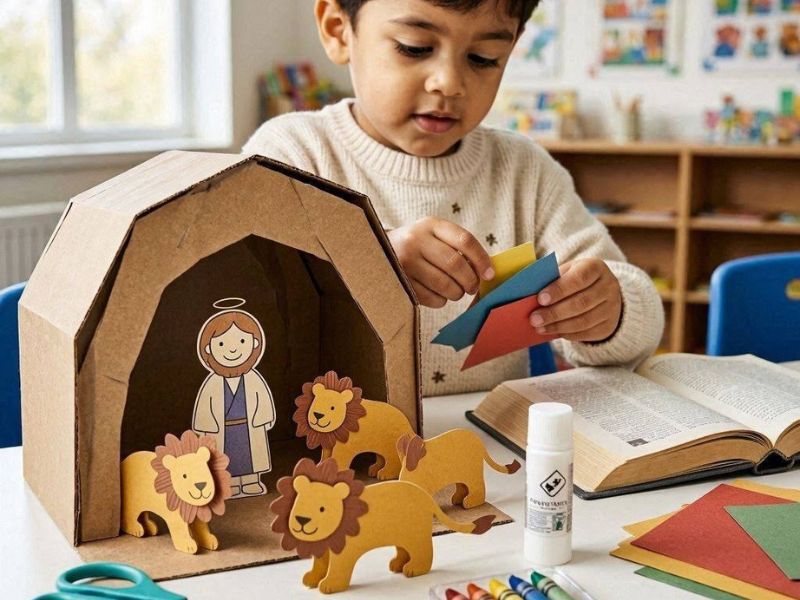
If you enjoy adding meaningful, narrative details to handmade pieces, our post on Daniel and the Lion Den Craft: An Easy Bible Activity That Helps Kids Remember the Story shows how storytelling and imagery make simple craft projects carry deeper personal meaning.
Step 8: Seal the Surface So It Actually Lasts
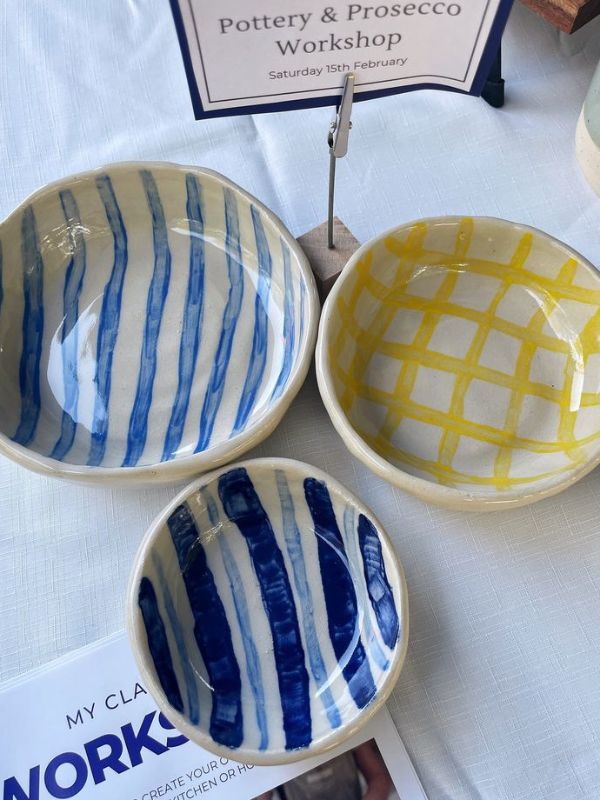
Sealing is the most critical step in how to paint ceramic bowls that survive real daily life. A beautiful design that chips within weeks is not a paint failure. It is almost always a sealing failure.
For ceramic enamel paint that can be oven-fired, the firing process gives the most durable finish. Place the bowl in a cold oven and heat to the temperature on the paint label. Most brands specify between 160 and 180 degrees Celsius. Bake for the stated time. Allow the oven to cool completely before removing the bowl. Opening the door early causes temperature shock and paint cracking.
For paints that cannot be oven-fired, apply two or three coats of a clear ceramic sealer with a clean brush. Allow each coat to dry fully. Allow the final coat 72 hours to cure before the bowl goes into use.
Once sealed and finished, your ceramic bowls deserve a thoughtful home. For ideas on displaying handmade objects throughout the house, our post on Bedroom Decor Ideas You Can Actually Make, Not Just Shop For a Cozy, Personal Space gives you room-by-room inspiration for incorporating handmade ceramics into everyday decor.
Step 9: Cure It and Then Actually Use It
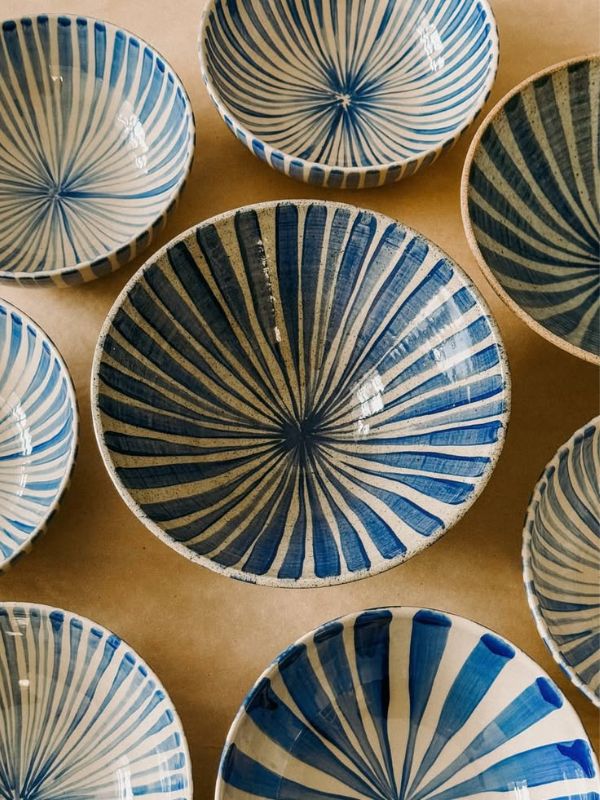
The final stage of how to paint ceramic bowls requires patience more than skill. Paint needs time to fully bond and harden after firing or sealing. Using the bowl too early is one of the most common ways a finished surface gets damaged.
Allow a fired bowl to rest for at least 24 hours before use. Allow a sealed bowl at least 72 hours, and ideally a full week. This patience protects every hour that went into the painting.
Once cured, use it properly. Fill it with fruit. Set it near the front door. Place it on the coffee table as a decorative piece. A bowl used every day is far more satisfying than one kept on a shelf out of caution.
That daily usefulness is exactly the point of learning how to paint ceramic bowls in the first place.
Painted ceramic bowls sell consistently well at craft fairs and on Etsy. To turn your ceramic work into income, our post on How to Make Crafts: 20 Easy Crafts to Sell and Make Profits From Home If You Need Extra Income covers pricing, platforms, and everything else you need to get started.
Painting Ceramic Bowls for Every Season and Occasion
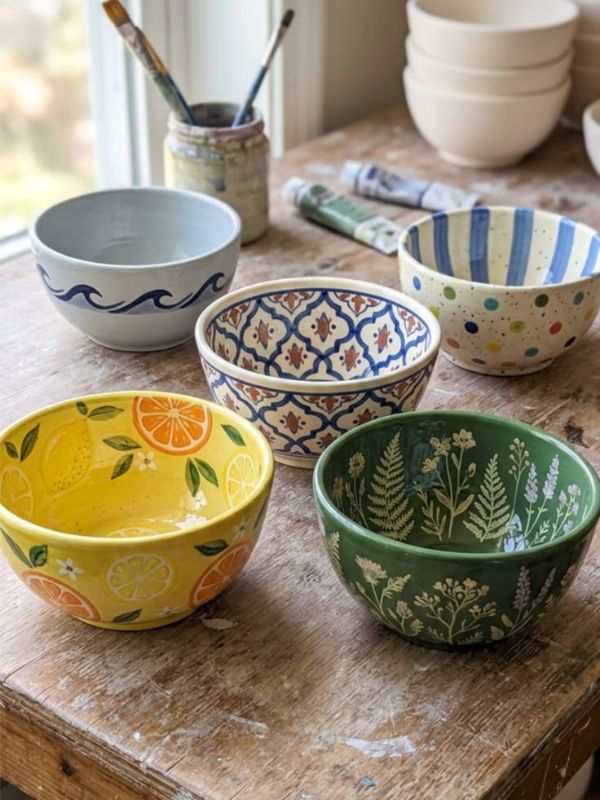
How to paint ceramic bowls is not a one-season skill. Once you have the technique, every season brings a new reason to reach for the paint.
Halloween
A ceramic bowl painted in black and orange with a simple spider web looks immediate and seasonal. Bat silhouettes, moon shapes, and jack-o-lantern motifs all work cleanly on ceramic surfaces. These also sell well at October craft markets.
For more Halloween creative ideas that work especially with older children, our post on Halloween Crafts for Teens: 15 Projects for Room Decor, Costumes, and Fun has a full range of October project ideas to complement a ceramic painting session.
Autumn
Warm earthy palettes, leaf motifs, and terracotta tones translate beautifully onto ceramic. An autumn-themed bowl displayed with real foliage becomes part of the seasonal decor. No extra styling effort is needed.
For budget-friendly autumn decor ideas that complement painted ceramic pieces beautifully, our post on Dollar Tree Fall Crafts That Look Expensive (Easy DIY Decor Anyone Can Make) is packed with affordable seasonal ideas.
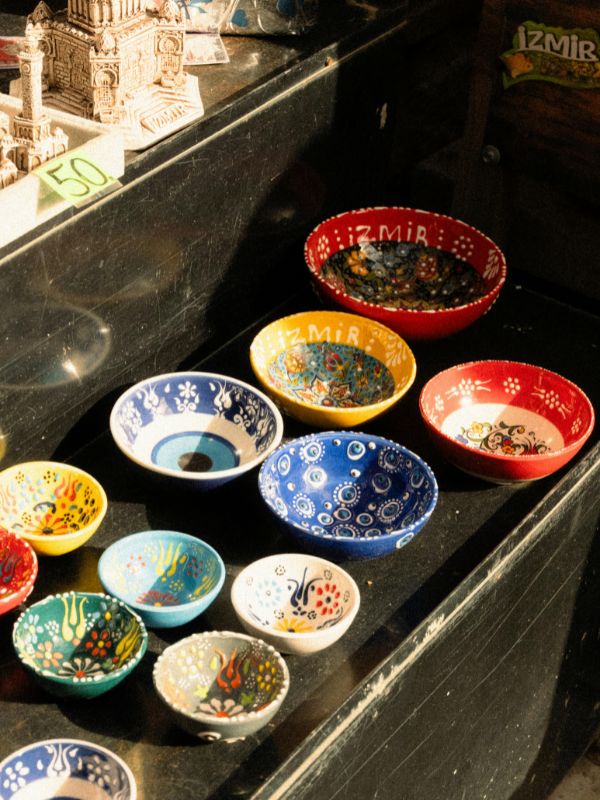
Christmas
Winter botanicals, snowflake motifs, and rich jewel-tone palettes translate naturally onto ceramic. A bowl painted with a simple holly branch and gold accents makes one of the most elegant and personal Christmas gifts available.
For more handmade Christmas project ideas that pair naturally with painted ceramic pieces, our post on Christmas Crochet Projects You Can Actually Finish Before the Holidays for Gifts, Decor, and More is a full collection of festive handmade inspiration.
And for budget-friendly Christmas craft ideas that complement a painted ceramic gift, our post on 12 Christmas Dollar Tree Crafts You’ll Be Proud to Display in Your Living Room has affordable holiday project ideas that look far more expensive than they are.
Father’s Day
A ceramic bowl personalised with a name, a date, or a meaningful motif becomes one of the most lasting Father’s Day gifts. New dads especially tend to hold onto these for a very long time.
For more heartfelt Father’s Day craft ideas, our post on Fathers Day Crafts That Make Dad Feel Celebrated, Seen, and Genuinely Loved has project ideas for every kind of dad.
For new dads specifically, our post on Meaningful First Fathers Day Gifts New Dads Will Love shows how to create deeply personal handmade gifts that a first-time dad will keep for years.
Summer
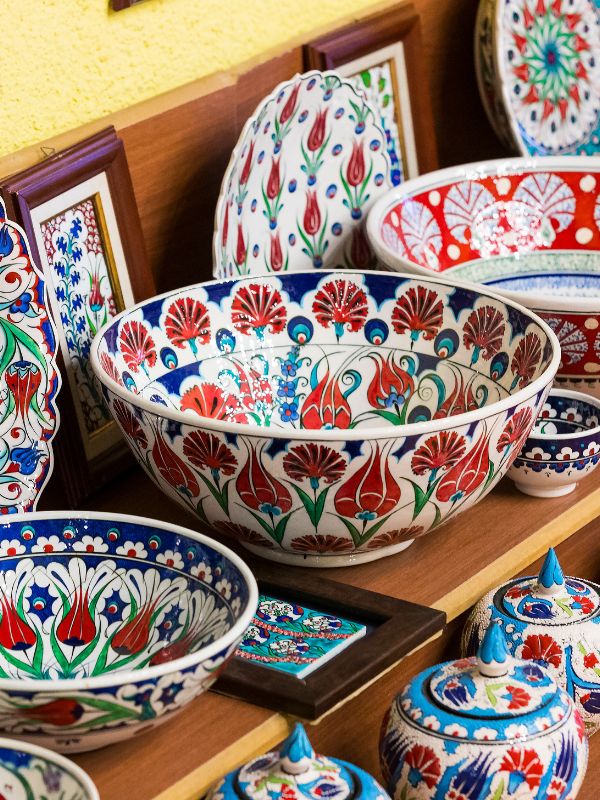
Loose botanical designs, ocean-inspired blues, and floral palettes suit ceramic beautifully through summer. These designs also translate well into products that sell consistently at summer craft fairs and markets.
For bright summer craft ideas that the whole family enjoys, our post on Cute Summer Crafts: Bright and Simple DIY Ideas for Sunny Days You’ll Want to Try has a great range of warm-weather creative ideas.
To combine ceramic painting with a broader session that produces items to sell, our post on 13 Easy Summer Arts and Crafts You Can Make and Sell from Home for Extra Cash is a great resource for creative families. -> https://chiomacreates.com/summer-arts-and-crafts/
Frequently Asked Questions
What paint works best when learning how to paint ceramic bowls at home?
Ceramic enamel paint is the best choice for how to paint ceramic bowls that last. It bonds with ceramic surfaces and can be oven-fired for a durable result. Regular acrylic paint works visually but chips without a proper ceramic sealer. For beginners, ceramic enamel paint is worth the slightly higher cost from the start.
Do I need an oven to fire my painted ceramic bowls?
Oven firing is the most durable option in how to paint ceramic bowls at home, but it is not always necessary. Most ceramic enamel paints can be oven-fired between 160 and 180 degrees Celsius. If you prefer not to fire the bowl, a clear ceramic sealer applied in two or three thin coats also produces a good finish. Hand washing is recommended for both methods.
Can children help with painting ceramic bowls?
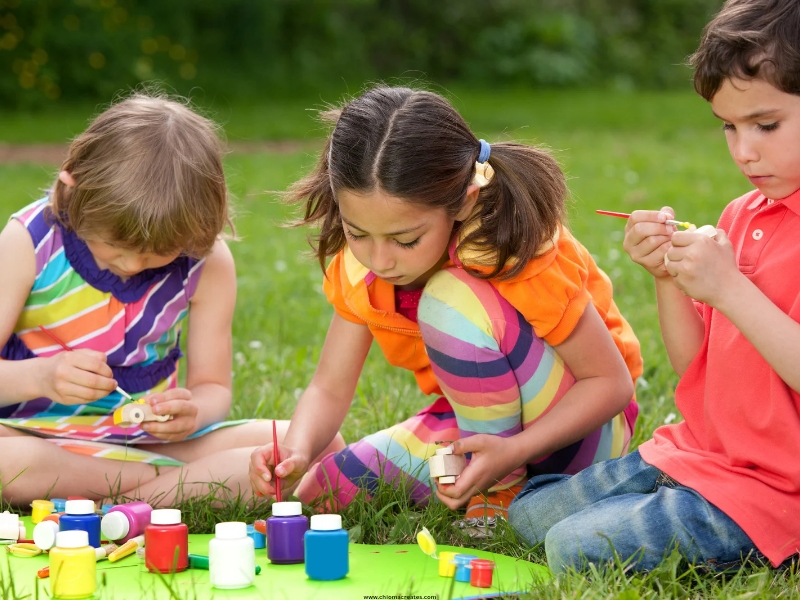
Yes. Children from around age five onwards can join a ceramic painting session comfortably with adult supervision. Use certified non-toxic ceramic paint and supervise the oven-firing stage yourself. A bowl painted partly by a child carries a completely different kind of charm. Most adults find that result more endearing than a technically perfect one. How to paint ceramic bowls together as a family is also a genuinely enjoyable afternoon.
How do I fix a mistake before the bowl is fired or sealed?
Ceramic paint is water-soluble before it dries. A fresh mistake wipes away cleanly with a damp cloth. A mistake on dried but unfired paint can often be removed by carefully dampening the area. Once the bowl is fired, removing paint requires sanding, which risks damaging the surface underneath.
What is the most common mistake in how to paint ceramic bowls?
The most common mistake in how to paint ceramic bowls is skipping the surface preparation step. Oil from handling, factory dust, and moisture all prevent paint from bonding properly. The second most common mistake is rushing the drying time between layers. Both problems lead to peeling and chipping that has nothing to do with the quality of the paint itself.
The Bowl on That Shelf Could Be Yours
The most important thing about how to paint ceramic bowls at home is simply beginning. The process is slower than the finished photos suggest. It is also faster than it seems when you are thinking about it from the outside.
Every bowl teaches you something the next one benefits from. The first shows you how the paint handles. The second reveals your natural design instincts. By the third, how to paint ceramic bowls is no longer a skill you are actively learning. It is something you simply do.
Put your finished bowl on a shelf somewhere you pass it often. Fill it with something practical. Let it live a real life in your home. How to paint ceramic bowls is not about producing a display piece. It is about making something useful that you also made yourself. That turns out to matter far more than most people expect.