Tried to crochet before and given up? This how to crochet for beginners guide teaches it the right way, with simple steps made for total beginners.
Most people who quit crochet don’t quit because they lack talent. They quit because they start without knowing three things, the right terminology, the right hook, and a project sized to what they can actually finish.
Crochet terminology isn’t universal. A “single crochet” in the US and a “single crochet” in the UK are two different stitches, the names overlap, but they don’t mean the same thing.
Someone can follow instructions perfectly and still end up with a fabric that’s completely wrong, not because they made a mistake, but because they didn’t know two systems existed.
Hook sizing has the same hidden trap. Hooks are labeled three different ways, by letter, by number, or by millimeter, and the UK numbering runs in the opposite direction from the US numbering.
A hook that looks “close enough” on a shelf can be a full size off, and that difference shows up immediately as stitches that are too tight or too loose to work with.
And then there’s scope. A first project that’s too big doesn’t fail because of skill, it fails because motivation runs out before the project does. Three rows into a blanket, the gap between how much work is done and how much is left becomes the actual reason people stop.
None of this is about ability. It’s about starting with accurate information instead of assumptions. This post covers exactly that, the terminology, the tools, and the project sizing, so the foundation is right before the first stitch goes in.
Looking for more ways to celebrate the versatility of crochet styles? Crochet Hairstyles For Black Women showcases beautiful protective hairstyles that combine style, comfort, and low-maintenance wear for every occasion.
The US vs. UK Terminology Trap

If there’s one thing that quietly wrecks more first projects than anything else, it’s this: crochet has two completely different naming systems, and most tutorials never mention that fact.
Here’s the part that catches people off guard, the stitch names aren’t just spelled differently or abbreviated differently. They refer to different stitches entirely.
A US “single crochet” is what a UK pattern calls a “double crochet.” A US “double crochet” is a UK “treble crochet.” Same words, shifted by one step, describing two different heights of stitch.
If you follow a UK video using US assumptions, you’re not making a small mistake, you’re building an entirely different fabric than the one on screen.
The conversion:
| US Term | UK Term |
| Single crochet (sc) | Double crochet (dc) |
| Half double crochet (hdc) | Half treble crochet (htr) |
| Double crochet (dc) | Treble crochet (tr) |
| Treble crochet (tr) | Double treble crochet (dtr) |
Notice the pattern: everything shifts by one step. That one shift is responsible for most of the “I followed this exactly and it still doesn’t match” frustration beginners run into.
How to tell which system you’re looking at before you start:

Check the pattern’s abbreviation key first, most written patterns state whether they’re using US or UK terms somewhere near the top, even if it’s easy to miss.
For video tutorials, check the description or the creator’s location/audience; UK, Australian, and New Zealand creators typically teach UK terms, while US creators teach US terms.
If neither is stated, look at the stitch list used in the pattern itself, if “treble crochet” appears as a basic beginner stitch, you’re looking at UK terminology.
Why this matters even more if you’re piecing together tutorials from different sources — which is extremely common if you’re learning outside the US, where US-made content dominates search results but local shops, patterns, and teachers may all be using UK/Commonwealth terms.
Mixing the two without realizing it is how a lot of beginners end up making the wrong stitch consistently, not occasionally, and then blaming their own skill for something that was never a skill issue in the first place.
Yarn and Hook Size: The Pairing Most Beginners Get Backwards

Hook size and yarn weight aren’t two separate choices when you’re learning how to crochet for beginners, they’re a pair. Get one wrong, and the other stops working properly too.
Why hook sizes confuse everyone at first
- Hooks are labeled three different ways: US (letters), UK/Canada (numbers), and metric (millimeters)
- The tricky part: UK numbers run backwards from US ones — a bigger UK number means a smaller hook
- A hook that “looks about right” on the shelf can actually be a full size off
- The fix: always go by the millimeter size. Every hook has it stamped somewhere, and mm means the same thing everywhere in the world
Quick reference — most commonly used sizes
| Metric (mm) | US | UK/Canada |
| 4.0 mm | G/6 | 8 |
| 4.5 mm | 7 | 7 |
| 5.0 mm | H/8 | 6 |
| 5.5 mm | I/9 | 5 |
| 6.0 mm | J/10 | 4 |
Why yarn weight matters just as much
- Yarn comes in different thicknesses, called “weights”
- Medium or worsted weight is easiest for a beginner, it’s easier to see your stitches and fix mistakes as you go
- The exact yarn brand a tutorial recommends won’t be on every shelf, so judge by feel instead of chasing a specific product: medium weight is roughly the thickness of a shoelace
The one rule that solves most beginner problems
- Yarn labels print a recommended hook size for that yarn
- Buy your yarn first, check the label, then buy the hook that matches it in mm
- Doing it the other way around, picking a hook you like, then guessing at yarn, is where uneven, messy first projects usually start
Get this pairing right, and most of the “why does my crochet look off” frustration disappears before the first stitch goes in.
The Turning Chain Problem That Trips Up Almost Every Beginner
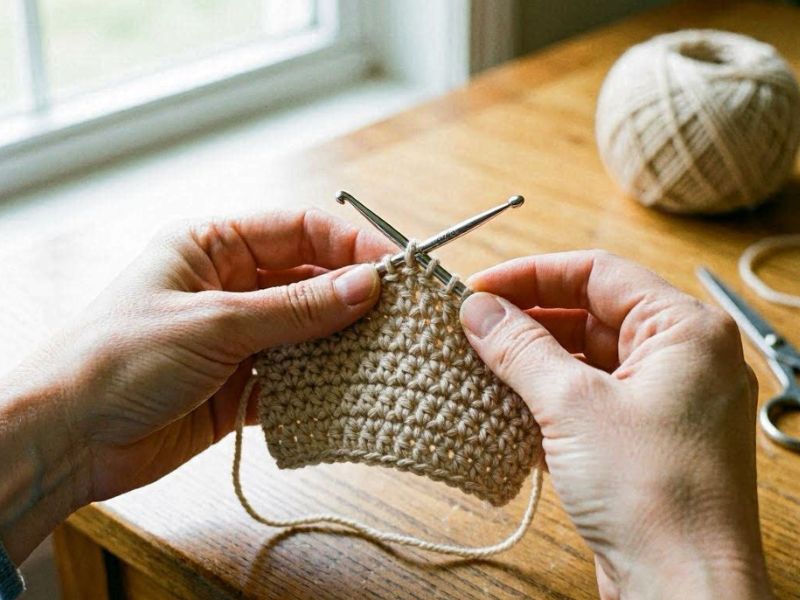
The turning chain is the small chain you make at the start of each new row before you keep stitching. It sounds like a minor detail, but it’s the most common reason a beginner’s rows start looking uneven or their stitch count quietly changes row after row.
Does the turning chain count as a stitch?
- Sometimes yes, sometimes no, and it depends entirely on which stitch you’re working
- For single crochet: the turning chain is usually just a height adjustment, not a stitch. You work your first real stitch into the very first stitch of the row.
- For half double crochet, double crochet, and taller stitches: the turning chain usually does count as the first stitch. You skip the first stitch of the row and work into the second one instead.
- A pattern should tell you which rule applies, but if it doesn’t, the height of the stitch you’re making is your clue
Why this one detail causes so many problems
- If you treat the turning chain as a stitch when it isn’t one, you’ll end up with an extra stitch at the end of every row
- If you treat it as not a stitch when it should count, you’ll lose a stitch every row instead
- Either way, the mistake is small and easy to miss in the moment, but it adds up fast, and a few rows in, your edges start looking jagged or your project starts narrowing or widening without you doing anything differently
How to keep your stitch count steady
- Count your stitches at the end of every row, before you turn and start the next one
- If your count is off, check the two most likely culprits first: did you miss the turning chain, or did you accidentally work into it when you shouldn’t have
- A stitch marker placed in the top of the turning chain is the simplest fix, it reminds you it’s there so you don’t skip it or double-count it
This single habit, knowing your stitch’s rule and checking your count every row, solves more “why does my project look messed up” moments than almost anything else on this list.
Reading a Pattern Before You Touch Yarn
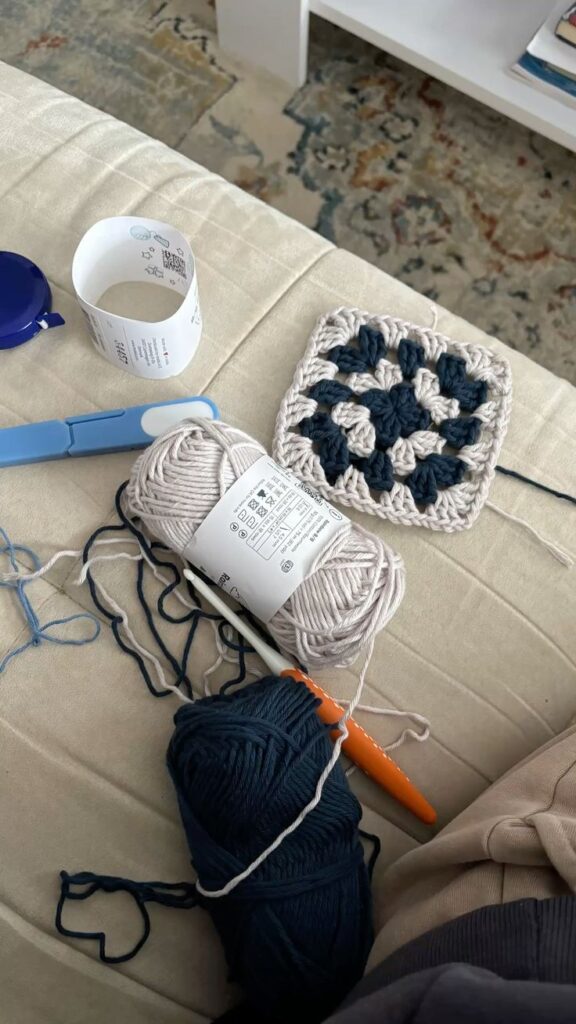
One of the most overlooked steps in how to crochet for beginners is the step that happens before row 1: actually reading the pattern all the way through.
Most beginners skip straight to the instructions and start stitching, and that’s exactly where a lot of avoidable frustration begins.
Check the abbreviation key first
- Patterns don’t all use the same shorthand for the same stitches
- A quick glance at the key at the top of the pattern tells you exactly what each abbreviation means in that pattern, instead of assuming it matches what you learned elsewhere
- This takes thirty seconds and prevents an entire project’s worth of confusion
Confirm whether it’s US or UK terminology
- The same stitch names mean different stitches depending on the system
- Most written patterns state which terminology they’re using, usually near the abbreviation key or in the pattern notes
- If it isn’t stated, check the source, where the designer or website is based is usually a reliable clue
Identify the gauge before you start
- Gauge tells you how many stitches and rows should fit into a set measurement, usually a 4-inch or 10cm square
- It exists so your finished project comes out the size the pattern intends
- Skipping this step is the reason a lot of first projects turn out too small, too large, or don’t lay right, not because the stitches were done wrong, but because the fabric was never at the right density to begin with
Why this step matters more than it seems
- Almost every “I followed the pattern and it still doesn’t match the picture” moment traces back to one of these three things, not to a mistake in the stitching itself
- Reading the pattern fully before starting takes a few minutes and removes most of the guesswork that causes beginners to blame their own skill for something that was never a skill problem
Choosing a First Project That Won’t Make You Quit

The project you choose first shapes whether you keep going or stop before you’ve really started. It matters just as much as learning the stitches themselves.
Why a blanket is the wrong first project
- Blankets take weeks, even for experienced crocheters
- Early rows are the slowest and most mistake-prone part of learning, stretching that stage across a huge project multiplies the frustration instead of building confidence
- A few rows in, the gap between how much work is done and how much is left becomes discouraging on its own, separate from how the stitches actually look
What to make instead
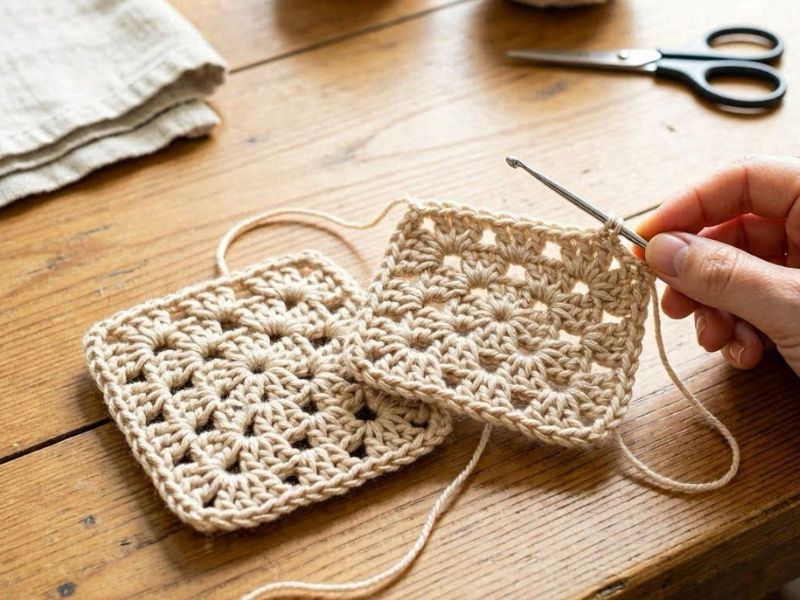
- A coaster, a dishcloth, or a small square teaches the exact same skills as a blanket, holding tension, forming stitches, reading rows, just on a scale you can finish in one or two sittings
- Finishing something, even something small, is what builds the muscle memory and confidence to take on a bigger project next
- Mistakes on a small project are lower-stakes too, if a coaster comes out uneven, it’s a five-minute redo, not a week of unraveling
What a realistic first week actually looks like
- Expect your first few rows to feel slow and a little clumsy, that’s normal, not a sign you’re doing something wrong
- Expect to make at least one mistake in stitch count or tension, that’s part of learning to read your own work, not a failure
- Expect a small project to take a few short sessions rather than one sitting, especially while your hands are still learning the motion
Starting small isn’t a lesser version of learning to crochet, it’s the version that actually gets people to their second project instead of stopping after their first.
What You Actually Need to Start
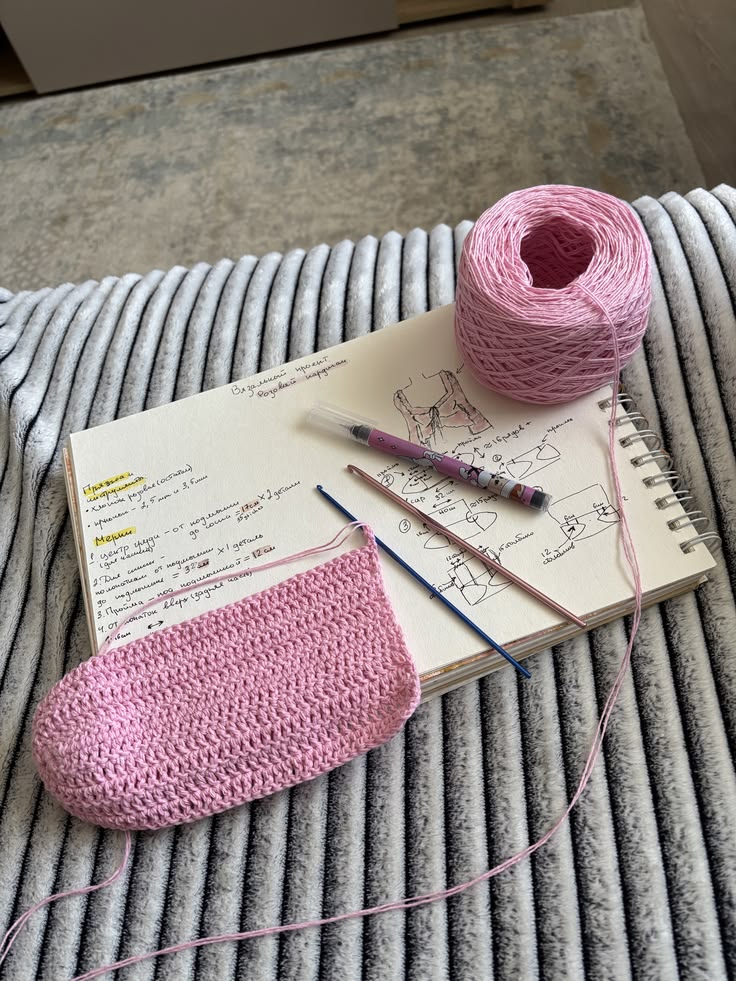
Learning how to crochet for beginners doesn’t require the 20-piece starter kit sitting at the top of every search result. It requires four things.
The starter list
- One crochet hook, in a medium size (around 5.0mm is a good default to start with)
- One ball of medium-weight yarn, in a light color so your stitches are easy to see
- A pair of scissors
- A yarn needle, for weaving in ends when you finish a project
That’s the complete list. Nothing else on it is required to make your first stitch, finish your first project, or learn the fundamentals properly.
Why the big starter kits aren’t necessary yet
- Kits with 15–20 hooks cover sizes for yarn weights you won’t touch for months, if ever
- Extra accessories like stitch counters, multiple needle sizes, or project bags solve problems you don’t have yet as a first-timer
- Buying in bulk before you know what you actually enjoy making means paying for tools based on guesses, not experience
What to add later, once you’re actually crocheting regularly
- Stitch markers, once you’re working patterns with turning chains or joining in the round
- Additional hook sizes, once you’re working with yarn weights outside medium
- A dedicated project bag or hook case, once you have more than one project going
Start with the four basics. Everything else is worth buying once you know, from experience, that you’ll actually use it, not before.
Physical Realities You Should Know

Photo credit: @ laurie
Hand and wrist strain is normal in the first few weeks
- New, repetitive hand motions put strain on muscles and joints that aren’t used to them yet, this is expected, not a sign you’re doing something wrong
- It tends to ease up as your hands get used to the motion, usually within the first few weeks of regular practice
- If strain doesn’t ease over time, or gets worse rather than better, that’s worth paying attention to rather than pushing through
Why a death grip on the hook works against you
- Holding the hook tightly feels like control, but it actually makes crocheting harder — it tires your hand faster and makes it more difficult to insert the hook smoothly into stitches
- A relaxed grip lets the hook move through stitches with less resistance and less effort overall
Loose tension is a skill, not a flaw
- Beginners often assume tight, controlled stitches mean they’re doing it “right”
- In reality, overly tight tension makes stitches harder to work into and speeds up hand fatigue
- Learning to hold the yarn loosely enough for stitches to move easily is a skill that develops with practice, it’s not something you either have or don’t
When to actually take a break
- If your hands or wrists start to ache, that’s the signal to stop, not push through
- Long, uninterrupted sessions are more likely to cause strain than short, regular ones
- Building in breaks from the start protects your hands for the long term and keeps the hobby something you can sustain, not something that wears you out
What Your Mistakes Are Actually Telling You
Uneven edges, gaps, and stitch counts that don’t match aren’t signs you’re bad at this. They’re information, and once you know how to read them, most of what feels like failure turns out to be one of a few fixable, well-understood issues.
- An edge that curls or looks jagged usually traces back to the turning chain, either it was counted as a stitch when it shouldn’t have been, or the other way around
- A stitch count that drifts row over row points to the same thing: a missed or double-counted turning chain, not a lack of skill
- A finished piece that looks nothing like the picture is often a terminology mismatch, US and UK stitch names overlapping but meaning different stitches, without either side realizing it
This is really the heart of how to crochet for beginners: almost everything that feels like “I’m just not good at this” actually traces back to one of a handful of specific, identifiable causes, the wrong terminology, the wrong hook, an unclear turning chain rule, a pattern read too quickly.
None of those are talent problems. They’re information problems, and now you have the information.
Start with the basics covered here, the right terms, the right hook and yarn pairing, a project sized to finish, and an honest read of a pattern before you begin, and most of the frustration that makes people put the hook down for good simply won’t happen. The stitches themselves were never the hard part.