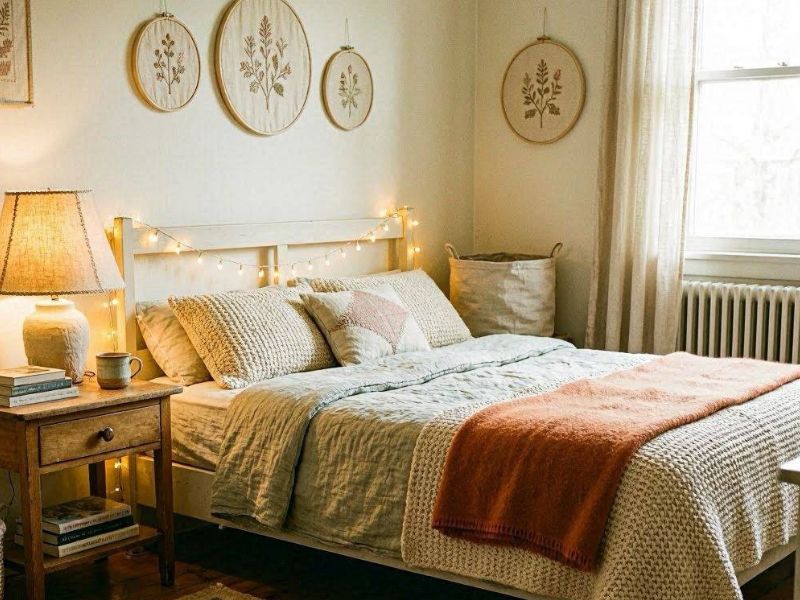
Not sure where to start decorating your bedroom? DIY bedroom decor ideas break down easy, budget-friendly projects step by step.
Bedroom feels bland but store-bought decor is pricey? These DIY bedroom decor ideas show simple projects that make it feel truly yours.
A bedroom can be fully furnished and still feel like it belongs to no one in particular, nice enough, but missing anything that says a real person, or preferably you, lives there.
A hand-painted frame, a fabric-wrapped lampshade, or a rug pieced together from old bedding carries something a matching furniture set never will: the mark of actually being made by hand.
This guide is written to walk you through doable projects you can do to decorate your home, that turn a bedroom into something that genuinely reflects who’s sleeping in it, a space you actually want to wake up in, not just one that looks good in a photo.
Creating a comfortable college space starts with Dorm Bed Makeover: How to Style a Dorm Bed to Feel Like Home, where simple styling ideas help transform an ordinary dorm room into a cozy personal retreat.
Quick, Low-Skill Projects (No Special Tools Needed)
1. Fabric-Covered Lampshade
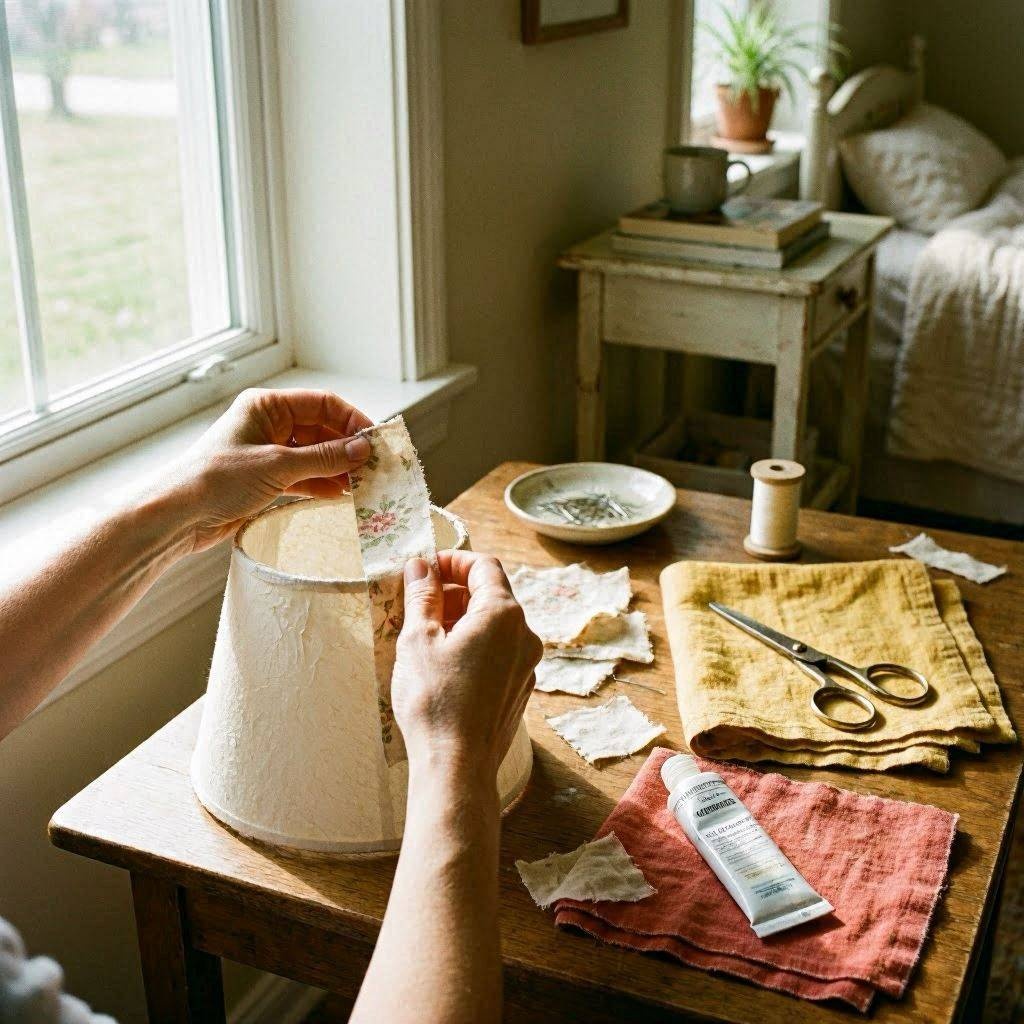
A plain lampshade is one of the fastest ways to change the whole feel of a room without touching anything structural.
What you’ll need:
- An existing lampshade (drum or empire shape works best for beginners)
- Fabric remnant large enough to wrap around the shade with a couple of inches to spare
- Spray adhesive (fabric or multi-purpose) or fabric glue
- Scissors and a pencil
How to make it:
- Roll the lampshade along the fabric to trace its shape, adding an extra inch on all sides for overlap and trimming allowance.
- Cut the fabric out, then apply spray adhesive in light, even coats to the shade’s surface (not the fabric) to avoid soaking through.
- Starting from one seam, press the fabric onto the shade gradually, smoothing out air bubbles as you go rather than laying the whole piece down at once.
- Trim any excess fabric along the top and bottom edges with scissors for a clean finish.
2. Fabric-Wrapped Storage Boxes from Cardboard
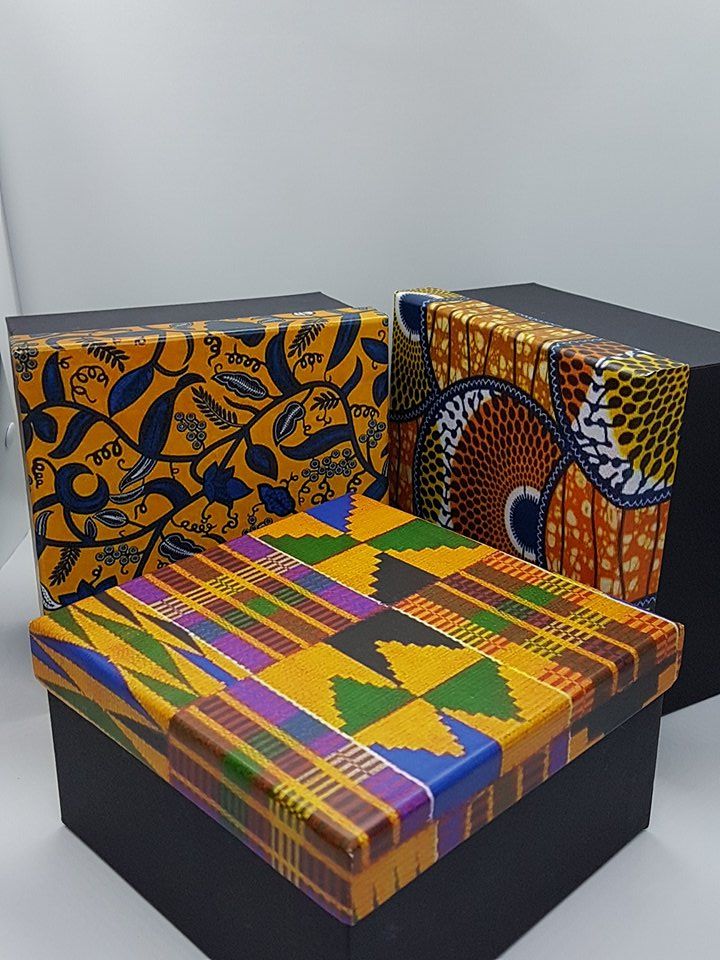
Old shipping boxes are usually thrown out, but a sturdy one makes a free base for matching storage that doubles as decor.
What you’ll need:
- A sturdy cardboard box (shipping box, shoebox, or similar)
- Fabric or decorative paper large enough to cover all sides
- Craft glue or a glue stick, plus a foam brush if using liquid glue
- Scissors or a craft knife
How to make it:
- Measure each side of the box and cut fabric or paper pieces with about an inch of extra overlap per side.
- Apply glue to one side of the box at a time rather than the whole box at once, to keep the fabric from shifting before it’s smoothed down.
- Press the fabric onto the glued surface, smoothing from the center outward to avoid trapped air or wrinkles, then fold and glue the overlap neatly around corners and edges.
- Let each side dry fully before moving to the next to avoid smudging or peeling.
3. Painted or Stenciled Accent Pieces
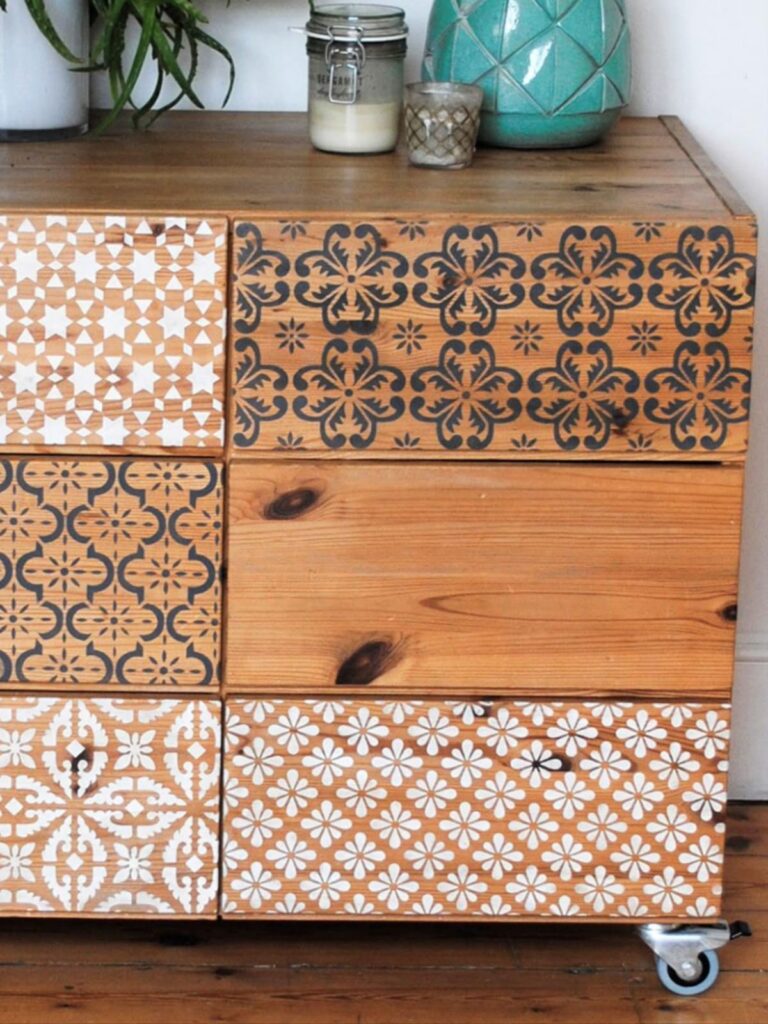
An old frame, small side table, or tray is often the easiest item in the room to transform, since paint alone can shift its entire look.
What you’ll need:
- The piece being painted (frame, small furniture, or tray)
- Sandpaper (fine-grit, for pieces with existing finish or varnish)
- Primer (if the surface is glossy or previously painted dark)
- Acrylic or chalk paint, and a stencil if adding a pattern
- Paintbrush or foam roller
How to make it:
- Lightly sand the surface to remove any gloss or existing coating, then wipe away dust with a dry cloth.
- Apply primer if the surface is glossy, dark, or previously sealed, this helps the new paint adhere evenly instead of peeling later.
- Paint in thin, even coats, letting each coat dry fully before adding the next, since one thick coat is more likely to drip or take longer to cure.
- If stenciling, tape the stencil firmly in place and dab paint on with a stencil brush or sponge in an up-and-down motion, rather than brushing side to side, to prevent paint from bleeding under the edges.
Adding personality to your living space becomes much easier with How to Transform Your Home With Colorful Living Room Ideas For An Inviting Space, featuring practical ways to brighten your home without overwhelming it.
Wall Décor You Can Make From Things You Already Own
Blank walls are often the last thing people budget for, which makes them one of the easiest places to apply DIY bedroom decor ideas using materials already sitting around the house.
4. Fabric or Paper-Wrapped Canvas or Embroidery Hoop Art
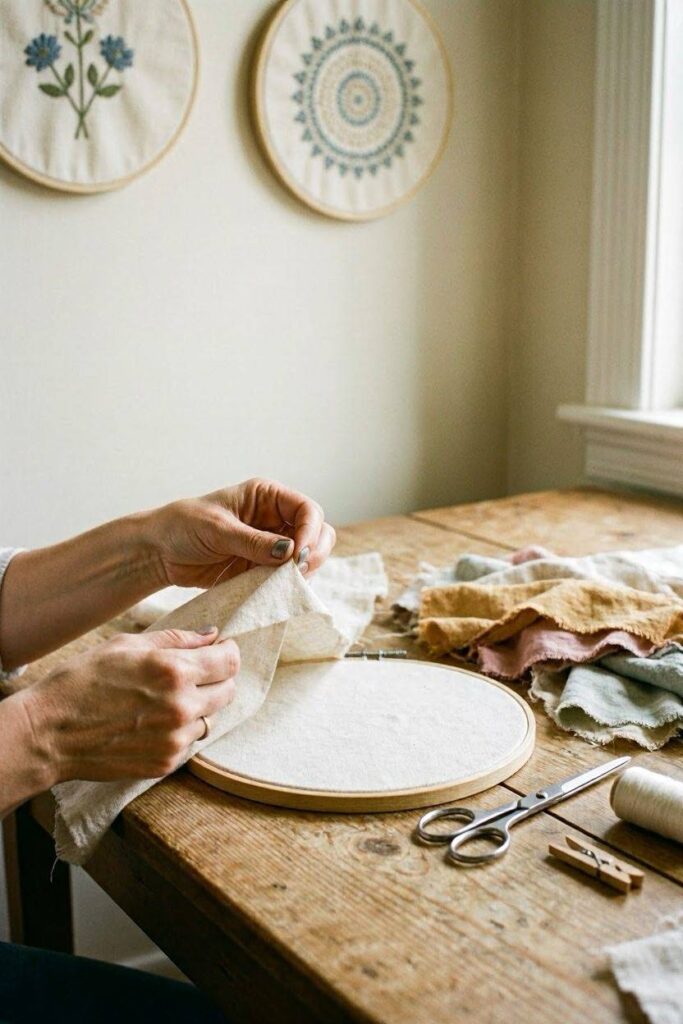
An embroidery hoop or an old canvas gives fabric or patterned paper a clean, finished frame without needing a real picture frame.
What you’ll need:
- An embroidery hoop (inner and outer rings) or a stretched canvas
- A fabric remnant or decorative paper slightly larger than the hoop or canvas
- Craft glue or a hot glue gun
- Scissors
How to make it:
- For a hoop: separate the inner and outer rings, lay the fabric over the inner ring, then press the outer ring down over it to clamp the fabric in place, this uses tension rather than glue to hold the fabric flat.
- Pull the fabric taut evenly around the edges before tightening the hoop’s screw closure, working around the circle rather than pulling from one side, to avoid a lopsided pattern.
- For a canvas: glue fabric or paper flat to the canvas surface, smoothing from the center outward, then fold and glue the excess around the back edges.
- Trim any excess fabric from the back of the hoop or canvas once the piece is fully secured.
5. Gallery Wall Using Printed Photos, Pressed Items, or Scrap Materials
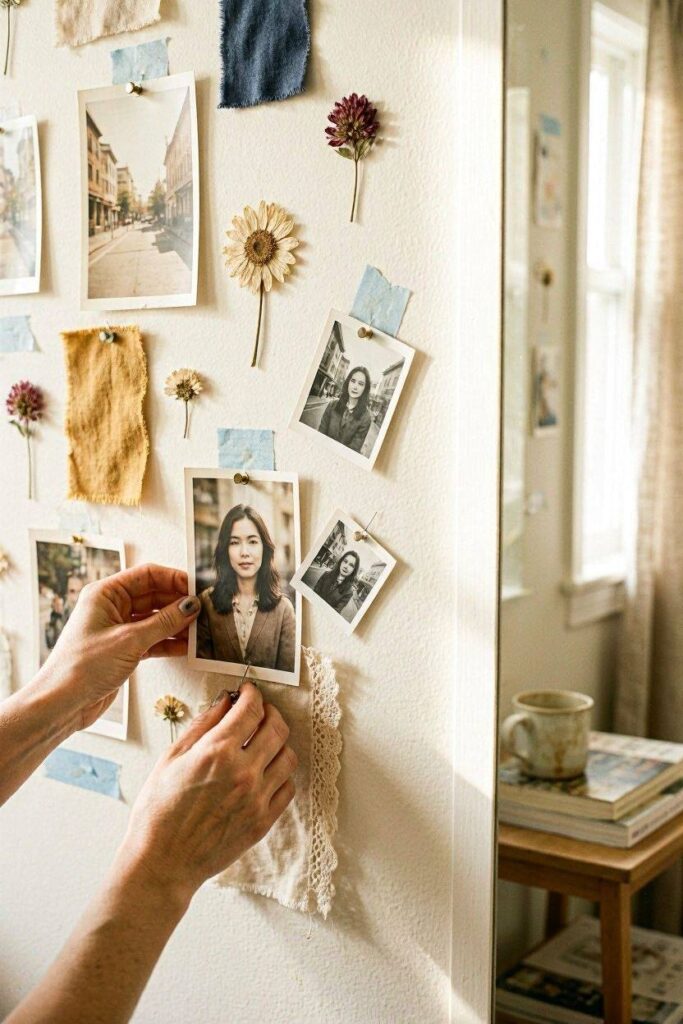
A gallery wall solves the “empty wall” problem without requiring a single matching purchase, since it’s built from things already on hand.
What you’ll need:
- Printed photos, pressed flowers or leaves, postcards, or small fabric/paper scraps
- Small frames (mismatched is fine) or removable adhesive mounting strips
- A tape measure and painter’s tape for planning layout
How to make it:
- Lay the pieces out on the floor first in the arrangement being considered, rather than mounting directly on the wall, to test spacing and balance before committing.
- Use painter’s tape to mark the outline of each frame or item on the wall, stepping back periodically to check alignment from a distance.
- Space items 2–3 inches apart for a cohesive cluster rather than a scattered look, keeping sightlines roughly aligned even when frame sizes differ.
- Mount using removable adhesive strips where wall damage needs to be avoided, or nails/hooks where permanent hanging is acceptable.
6. Washi Tape or Paint Accent Wall Sections
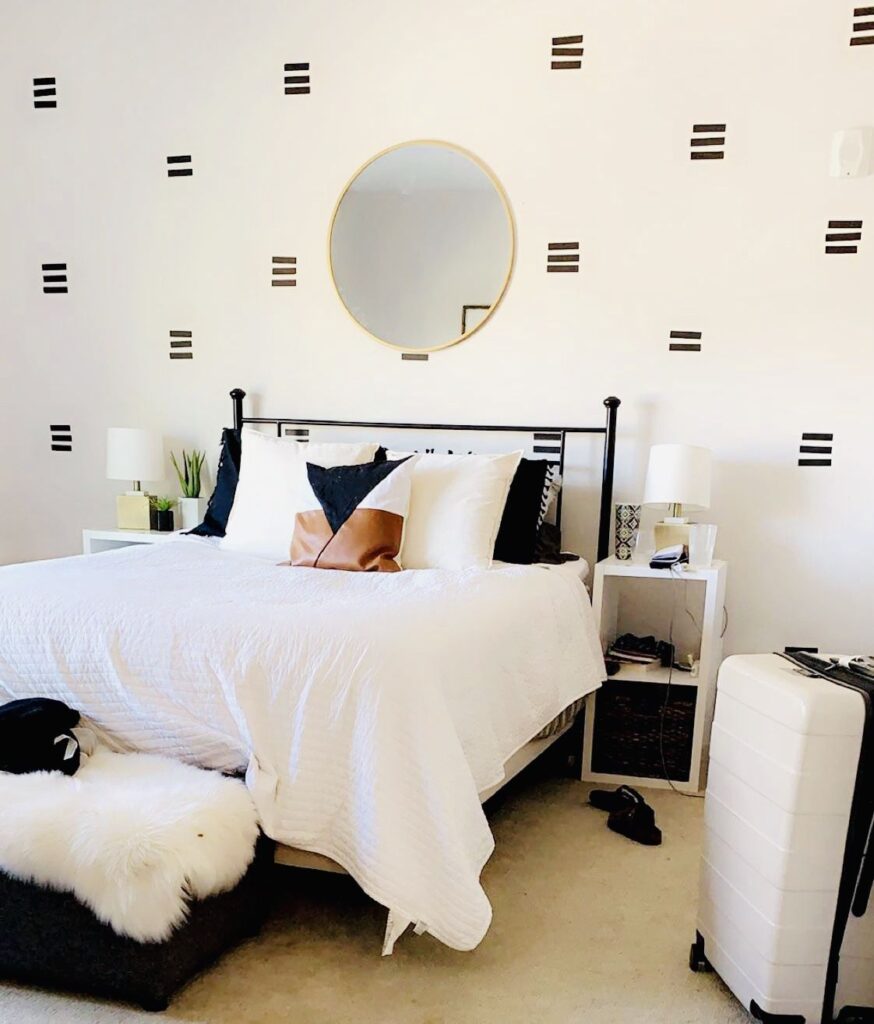
https://pin.it/24DEVABTN
For anyone renting or not ready to commit to a full paint job, a small taped or painted section adds visual interest without altering the whole wall.
What you’ll need:
- Washi tape (patterned or solid) or a small sample pot of paint
- A level or ruler for straight lines
- Painter’s tape (if using paint, to mask the section edges)
How to make it:
- Decide on the section shape first, a geometric block, a headboard-height panel, or vertical stripes, and mark it lightly with a pencil and level before applying tape or paint.
- For washi tape: apply strips directly following the marked lines, overlapping slightly at seams and smoothing out air bubbles with a flat edge like a ruler.
- For paint: apply painter’s tape along the marked edges first, paint within the taped section, and peel the tape away while the paint is still slightly damp to keep lines crisp.
- Both methods are fully reversible, washi tape peels off cleanly, and a small painted section can be primed over without repainting the entire wall.
Handmade décor adds warmth to any room, and Mini Terra Cotta Pots Crafts for Cute Budget-Friendly DIY Home Decor shows creative ways to turn inexpensive pots into charming decorative accents.
Repurposing and Upcycling Existing Pieces
Old bedding, worn furniture, and outdated frames don’t need to end up in a donation pile, most can be reworked into something that fits the room better than a new purchase would.
7. Braided or Tied Rug From Old Bedding or Sheets

This project turns worn-out sheets or bedding into a floor rug using knotting rather than any sewing or weaving equipment.
What you’ll need:
- Old bedsheets or bedding (cotton or cotton-blend works best; avoid heavily stretched jersey)
- Fabric scissors
- A non-slip rug mat or backing (optional, for extra grip)
How to make it:
- Cut the sheets into long strips, roughly 2–3 inches wide, using the fabric’s natural grain to keep strips from fraying excessively.
- Braid three strips together at a time, keeping tension even throughout so the braid doesn’t loosen or twist unevenly.
- Coil the braided length into a spiral, tying or hand-stitching the coils together at intervals as the rug grows outward.
- Trim any loose threads once the rug reaches the desired size, and tuck the final end underneath and secure it with a few stitches or fabric glue.
Bold interiors can still feel warm and welcoming, and Dark Home Decor Ideas explores stylish ways to decorate with deeper colors while keeping your space balanced and inviting.
8. Fabric, Paper, or Paint Cover for an Existing Mirror or Picture Frame
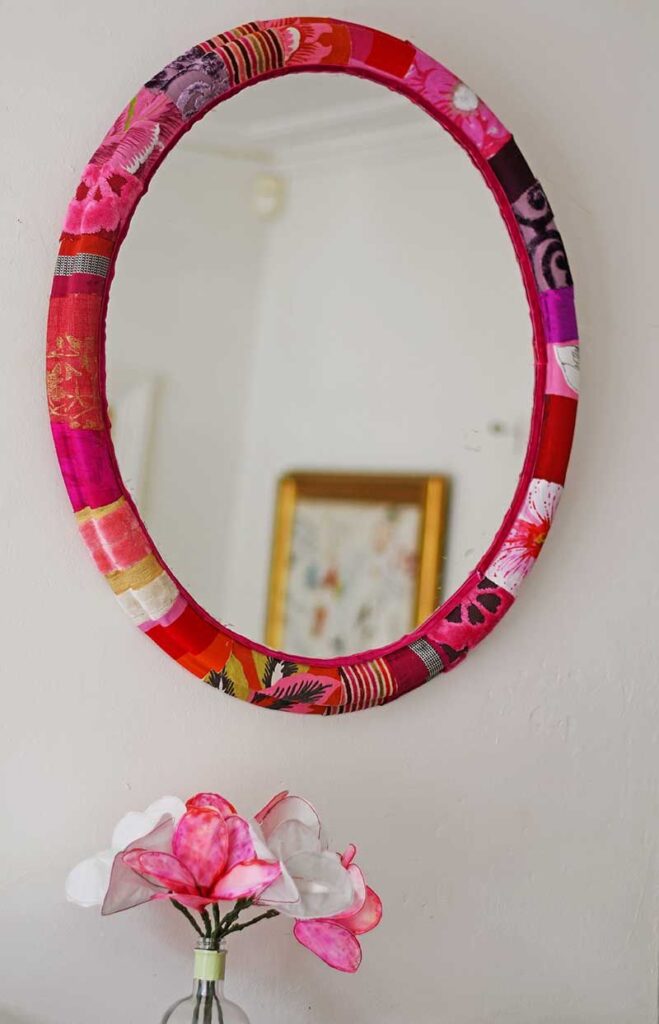
Photo credit: @ pillarboxblue
Reworking the frame itself is often more effective than replacing the mirror or artwork inside it, since a plain frame is what tends to date a piece.
What you’ll need:
- The existing frame (wood or plastic frames work best for gluing or painting)
- Fabric, decorative paper, or paint depending on the finish wanted
- Craft glue (for fabric/paper) or sandpaper and primer (for paint)
- Scissors or a craft knife
How to make it:
- For fabric or paper: measure the frame’s flat surface, cut the material to size with slight overlap, and glue it down section by section, smoothing outward to avoid bubbles.
- For paint: lightly sand the frame to remove any glossy coating, prime if the surface is dark or previously sealed, then apply thin, even coats of paint, letting each dry before the next.
- Trim any excess material neatly at the inner and outer edges of the frame once secured, so the mirror or artwork sits flush.
9. Repainting or Updating Old Furniture Instead of Replacing It
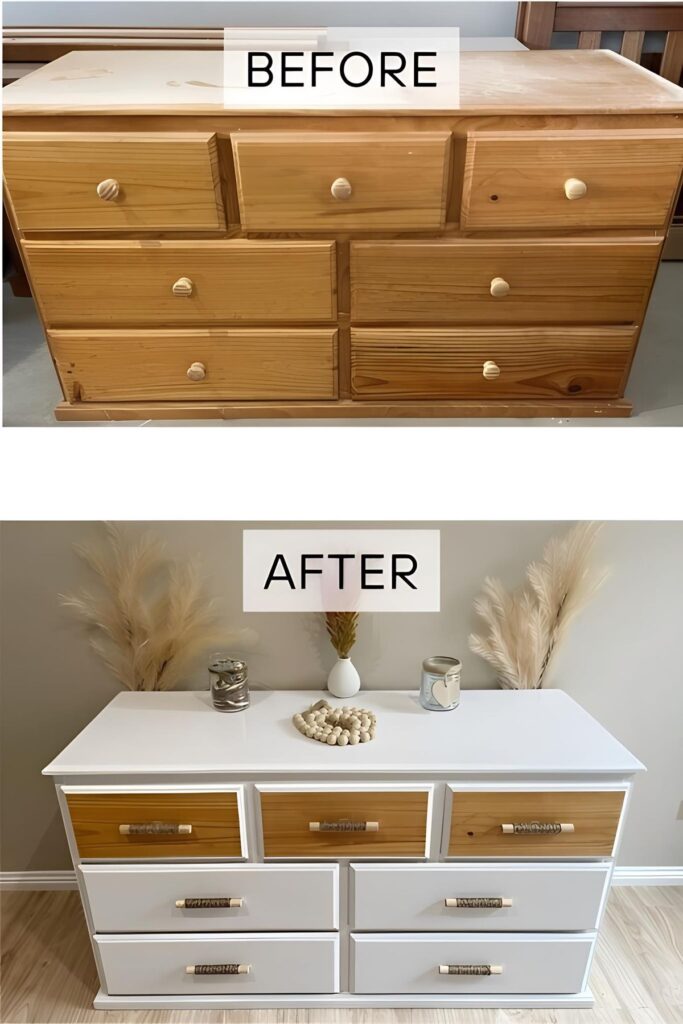
A nightstand, headboard, or dresser with a solid structure rarely needs replacing, the finish is usually what looks outdated, not the piece itself.
What you’ll need:
- The furniture piece being updated
- Sandpaper (medium then fine grit)
- Primer (especially for dark or laminate surfaces)
- Paint (chalk paint works well for furniture without heavy sanding) and a brush or roller
- Optional: new hardware (handles, knobs) for an updated look
How to make it:
- Sand the piece to remove any glossy top coat, working with medium-grit paper first, then finishing with fine-grit for a smooth surface.
- Wipe away all dust with a damp cloth before priming, since leftover dust causes uneven paint texture.
- Apply primer if the surface is dark, laminate, or previously sealed, then let it dry fully before painting.
- Paint in thin, even layers, sanding lightly between coats if a very smooth finish is wanted, and finish with new hardware if the look calls for it.
Lighting has the power to completely change a room, and Modern Home Lighting Inspiration showcases beautiful lighting ideas that enhance both the style and atmosphere of your home.
Lighting and Texture Projects
Texture and Lighting are two of the fastest ways to change how a room feels without touching furniture or walls, which makes them some of the most efficient DIY bedroom decor ideas on this list.
10. String Light Displays or Paper Lantern Accents
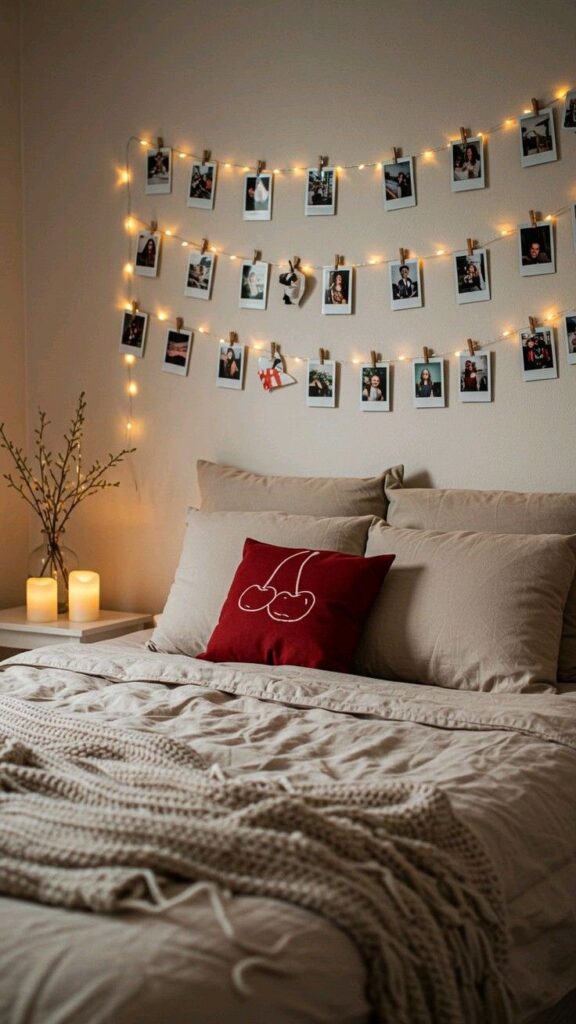
Layering soft, ambient light on top of a room’s main light source adds warmth that overhead lighting alone can’t achieve.
What you’ll need:
- String lights (battery-powered or plug-in, depending on outlet access)
- Removable adhesive hooks or command strips
- Optional: paper lanterns, small clothespins, or fabric scraps for shades
How to make it:
- Plan the layout first, along a headboard, draped across a wall, or framing a window, and mark hook placement lightly with a pencil before sticking anything down.
- Attach adhesive hooks at even intervals, pressing firmly and letting them set for the time stated on the packaging before hanging any weight on them.
- Drape the lights loosely between hooks rather than pulling them taut, which creates a softer, more natural curve.
- For paper lanterns or fabric shades, thread them onto the string before hanging, or clip small fabric scraps directly onto the cord with clothespins for a similar diffused effect.
11. No-Cost Texture Additions Using Draped Fabric and Layered Textiles

Photo credit: @ Unknown
Texture makes a room feel finished even when nothing new has been purchased, since layering existing textiles changes how light and shadow move across a space.
What you’ll need:
- Extra throws, blankets, or fabric remnants already in the house
- A curtain rod, decorative hooks, or a bed frame with posts (for draping)
How to make it:
- Drape a lightweight throw or fabric remnant over a curtain rod or headboard corner, letting it fall unevenly rather than folding it flat, for a more natural look.
- Layer textiles of different weights and textures on the bed, a woven throw over a smoother duvet, for instance, rather than matching fabrics exactly.
- Use a spare textile as a makeshift wall hanging by draping it over a rod or securing the top edge with removable clips, adding softness to a bare wall without any wall damage.
- Rotate or rearrange draped pieces seasonally, since this project requires no cutting or altering of the fabric itself.
Refreshing your home for the season is simple with Summer Home Decor Ideas to Refresh Every Room, packed with easy updates that bring a light, airy feel to your living spaces.
Styling the Finished Pieces Into a Cohesive, Personal Room
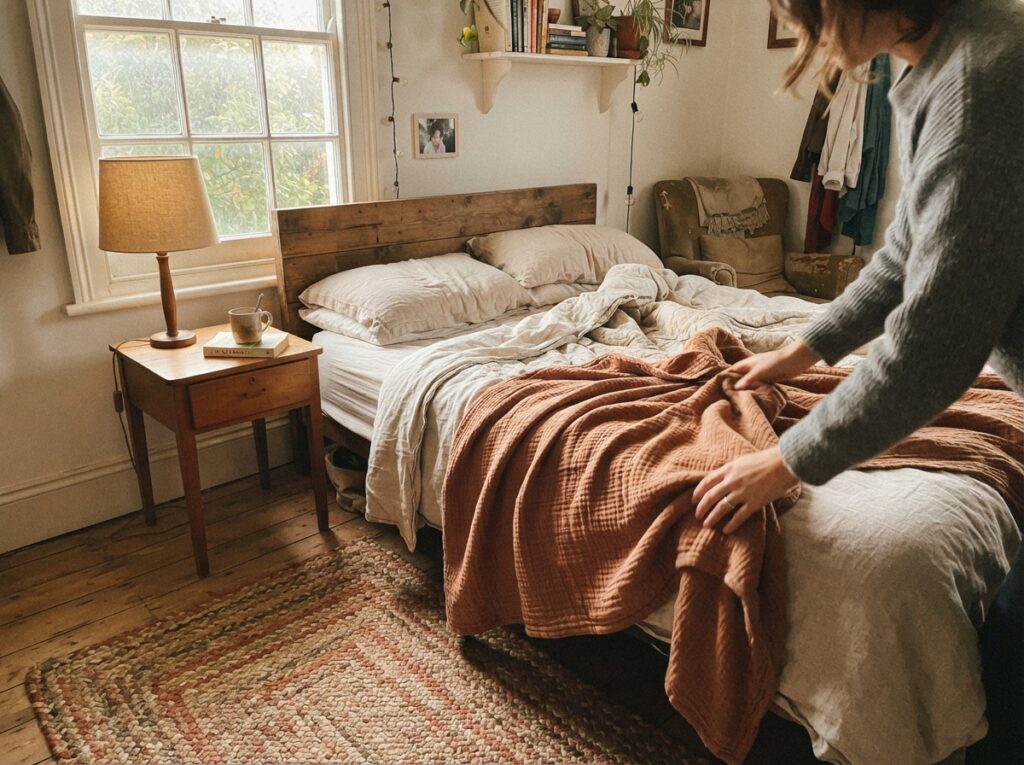
Handmade pieces can end up looking scattered rather than intentional if they’re added to a room without a plan, a few coordination habits make the difference between “cluttered” and “curated.”
Mixing Handmade Pieces With Existing Furniture Without It Looking Mismatched
Placement and repetition do more work than trying to match every piece exactly.
How to style it:
- Repeat one material or color across at least two handmade pieces in the room, the same fabric on a lampshade and a cushion, for instance, so the eye reads them as connected rather than random.
- Group handmade items near existing furniture rather than scattering them evenly across the room; a cluster of three small pieces on one nightstand reads as styled, while one piece on each surface reads as disorganized.
- Balance a bold or busy handmade piece with plain, existing furniture nearby, a patterned rug pairs better next to a solid-colored bed frame than next to another patterned item.
Color and Pattern Coordination When Materials Don’t Perfectly Match
Scrap and remnant materials rarely come from the same dye lot or pattern set, so exact matching isn’t realistic, coordination works better than matching.
How to style it:
- Pick one dominant color already in the room (bedding, walls, or curtains) and choose handmade materials that share that color in a different shade or tone, rather than searching for an exact match.
- Mix patterns by varying their scale, a small print pairs better with a large-scale print than with another small print, which helps mismatched fabrics feel deliberate instead of accidental.
- Use a neutral material (plain linen, unbleached canvas, or solid-colored paint) as a buffer between two patterns or colors that don’t naturally sit well together.
A Bedroom That Actually Feels Like Yours
None of these projects require special skills, a full renovation budget, or even new materials, just a willingness to try.
That’s the real advantage of DIY bedroom decor ideas over a shopping trip: every finished piece carries a little of the effort and choices that went into making it, which is exactly what turns a furnished room into a personal one.
So pick one project from this list to start, the fabric-covered lampshade or the gallery wall are both good first attempts, and build from there as time and materials allow.
The room doesn’t need to be finished all at once to start feeling different. Start with one small project this weekend and see how much a single handmade piece changes the room.