
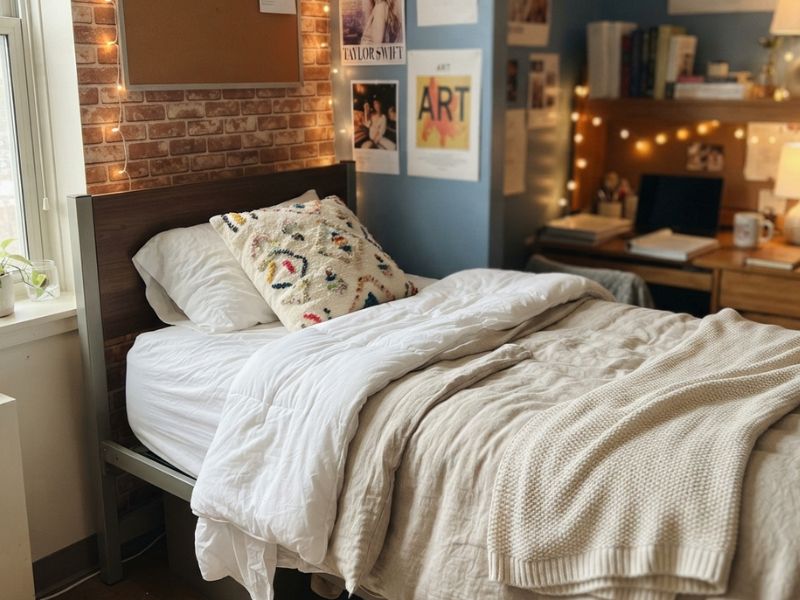
Dorm Bed Makeover: turn a plain, thin dorm mattress into a comfortable, private space that finally feels like yours.
That thin dorm mattress is doing more work than it was ever built for, it’s a bed at 2am, a couch when friends pile in to hang out, and a desk chair on the nights sitting upright feels impossible. And somehow, it’s still just one mattress in one small, shared room.
Here’s the part that’s easy to miss: that bed is often the only piece of the room that’s actually yours.
Everything else is split, shared, or negotiated with a roommate, but that one spot is supposed to feel like it belongs to you. When it’s bare or uncomfortable, the whole room feels like it too.
A few intentional choices fix that, bedding that actually fits the mattress underneath it, a topper that makes it feel like a real bed instead of a slab, and a few things that remind you of home instead of a dorm catalog.
None of it takes a big budget or a full room overhaul. Just the right pieces, in the right order, starting with the one thing almost everyone gets wrong before they even move in.
Limited square footage doesn’t have to limit style, and Small Bathroom Makeover ideas show how thoughtful updates can make even the tiniest bathroom feel brighter, more functional, and beautifully designed.
The Sizing That Ruins Half of Dorm Bedding Purchases
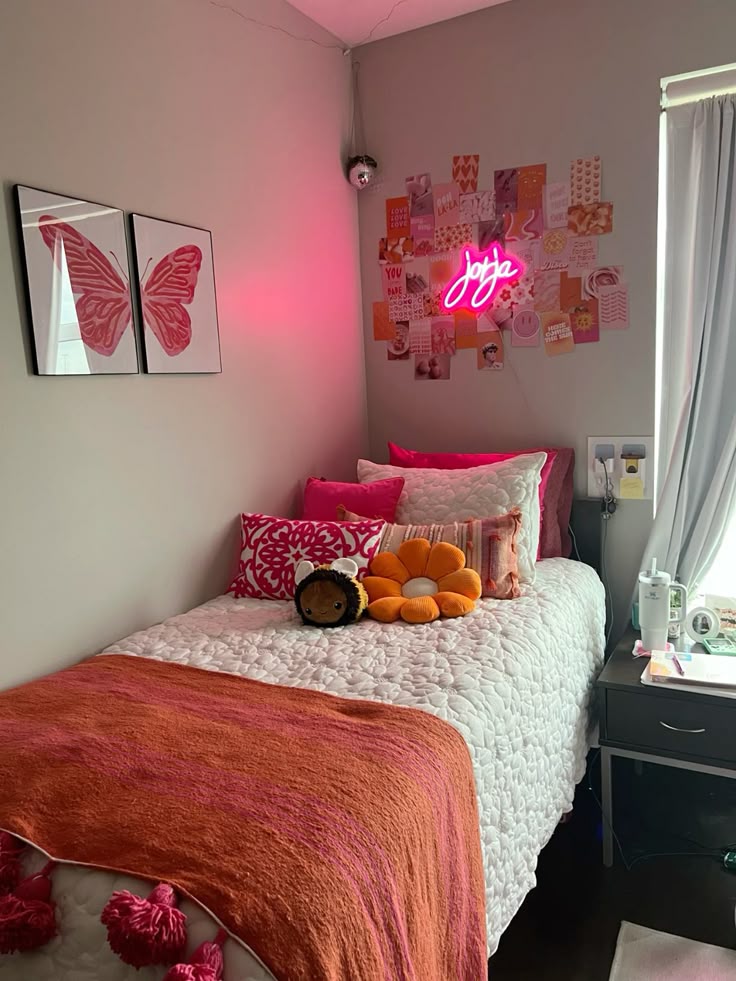
Most college dorm beds aren’t a standard twin, they’re Twin XL, measuring 38 inches wide by 80 inches long, five inches longer than the twin size you likely slept on at home.
That five inches doesn’t sound like much until you’re lying in bed with your feet hanging off the edge, or watching your fitted sheet pop off the corner every time you roll over in your sleep.
Here’s why this matters more than any other decision on this list: everything else you buy for the bed builds on top of this measurement.
A regular twin sheet set won’t stretch to fit. A regular twin comforter will leave a gap at the bottom, right where your feet are. Even a mattress topper needs to match Twin XL sizing, or it’ll shift and bunch instead of lying flat.
So before a single decorative pillow or throw blanket gets added, this is the one thing worth double-checking, is your dorm bed actually Twin XL? For most schools, the answer is yes.
But it’s worth confirming with your college’s housing page before you buy anything, since a few dorms still use standard twin or even full-size beds.
Get this measurement right first, and every purchase after it actually does its job.
Making every inch count becomes much easier with Small Space Decorating Ideas, where clever layouts, smart storage solutions, and intentional styling help compact rooms feel larger and more comfortable.
Why Comfort Has to Come Before Style
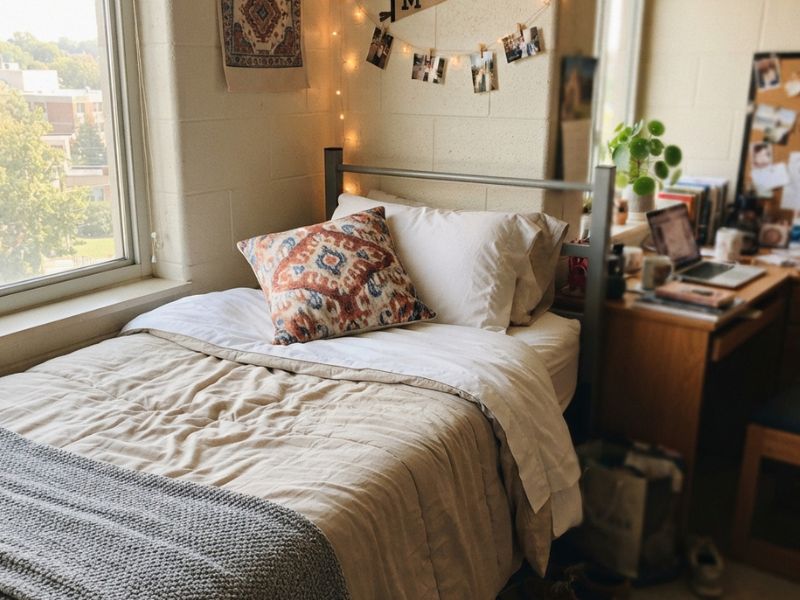
Before this dorm bed makeover gets to a single decorative pillow, there’s one purchase that actually matters more than any of them: a mattress topper.
Dorm mattresses are notoriously thin, and that’s not an accident, colleges buy them in bulk with durability and cost in mind, not comfort.
What you’re handed on move-in day is built to survive years of student turnover, not to feel good to sleep on for a full year.
That’s why a real dorm bed makeover starts here, not with color schemes or throw pillows. A topper is the difference between a bed that just holds a body and one that actually feels like rest.
Skip this step, and no amount of styling on top will change how the bed actually feels once the lights are off.
Get the comfort right first, and everything you layer on after, sheets, pillows, blankets, actually gets to do its job, instead of covering up a bed that still feels uncomfortable underneath it all.
Rich colors and dramatic details take center stage in Dark Home Decor Ideas, proving that deeper tones can create a space that feels sophisticated, cozy, and full of personality.
Check the Housing Handbook Before You Buy a Single Decoration
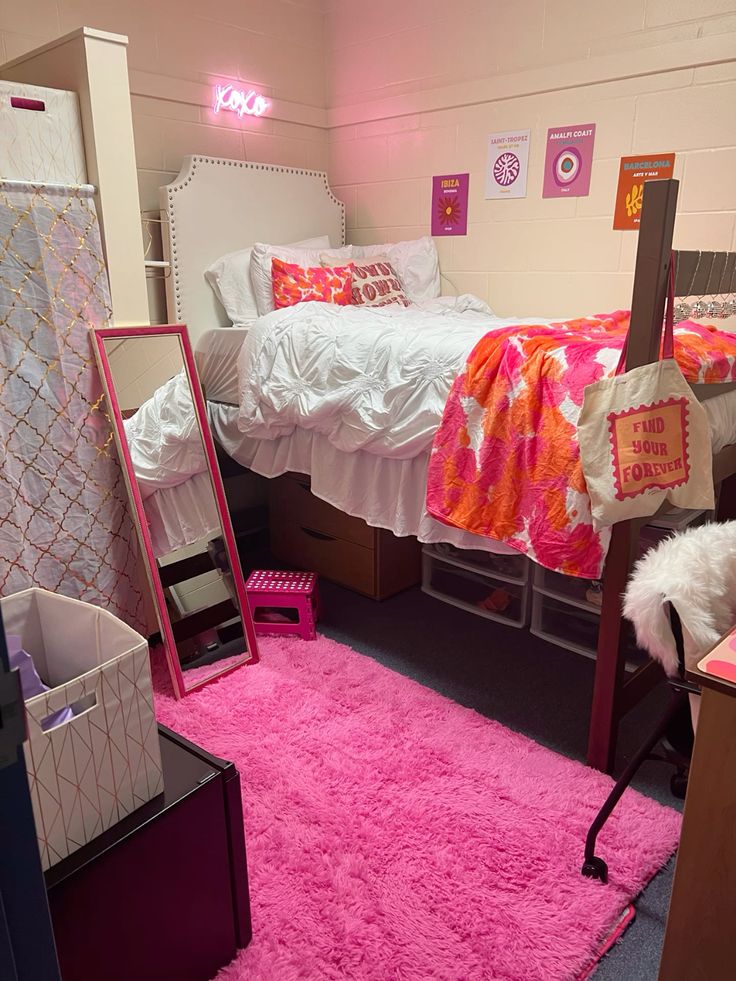
Before you add anything to cart, open your school’s actual housing handbook. Not the move-in checklist, the fire safety section.
This is the step most dorm decor guides skip entirely, and it’s the one that saves you both money and an awkward conversation with your RA during the first room inspection.
Here’s why it matters: fire codes for residence halls aren’t set by some single national standard, they’re set school by school, sometimes building by building, based on local fire marshal requirements.
That means the specific numbers you’ll find vary, but a few restrictions show up often enough to be worth checking for by name:
- Wall coverage limits. Many schools cap how much of a wall you can decorate, often somewhere around 20%, and require decorations to sit a set distance below the ceiling so they don’t interfere with sprinklers or smoke detectors.
- Tapestries and fabric wall hangings. These are frequently restricted by size, required to be flame-retardant, or banned outright — a rule that catches a lot of students off guard after they’ve already ordered one.
- String lights. Most schools that allow them cap the number of strands you can connect end to end, and prohibit hanging them with metal fasteners or nails.
The exact thresholds differ enough by institution that stating one number here would be misleading, your school’s handbook is the only accurate source for what applies to your building.
Search it for terms like “fire safety,” “prohibited items,” or “residence hall decorations,” and you’ll usually land on the exact list in a few minutes.
The payoff for doing this first: everything you buy for the rest of this makeover actually gets to stay up all year, instead of coming down after the first walkthrough.
Working Within “No Nails, No Damage” Policies
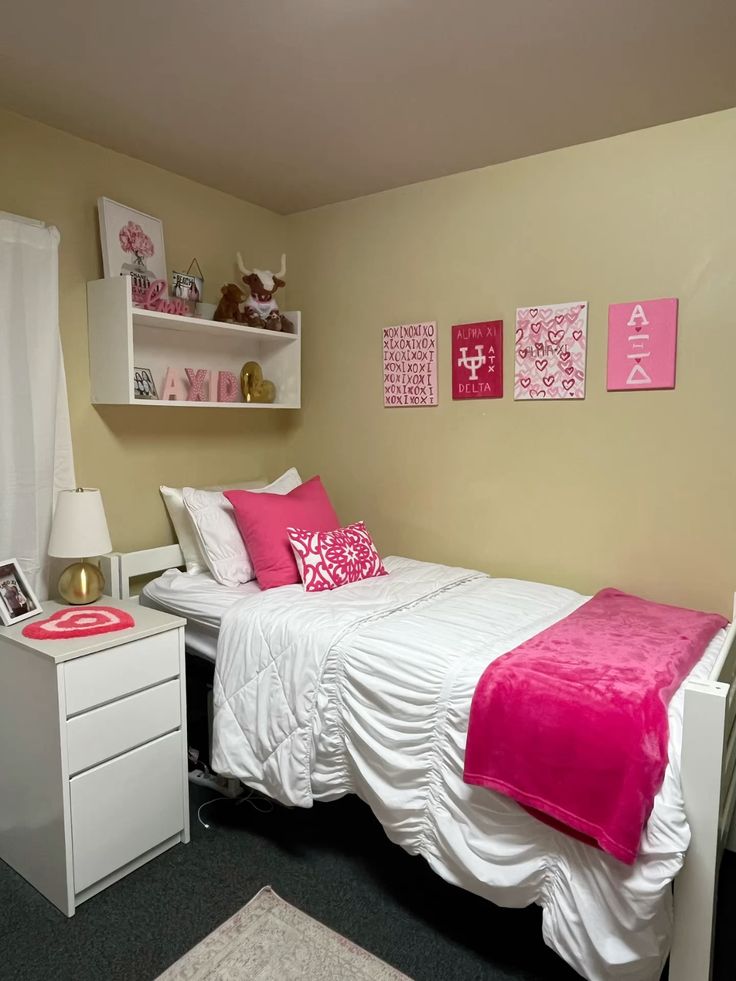
Most dorms come with a rule that shapes everything you can actually do to the bed area: no nails, no screws, nothing that leaves a mark on the walls or furniture when you move out.
It’s one of the most searched frustrations of dorm decorating, because it rules out a lot of what works in a normal bedroom.
The fix isn’t to quit decorating the space, but choosing tools for exactly this situation.
Command strips, sized correctly
Not all command strips are equal, and this is where most people go wrong.
Check the weight rating printed on the package and match it to what you’re actually hanging, a lightweight print needs a different strip than a mirror or a small shelf. Undersized strips are the reason things fall off dorm walls within a week.
Tension rods for a no-drill canopy or curtain
A tension rod wedges into place using pressure alone, no drilling or wall damage required. This is the easiest way to add a curtain along one side of the bed, or drape fabric overhead for a soft canopy look, all without a single hole in the wall.
Bed-frame shelving instead of wall shelving
Rather than mounting anything to the wall, look for shelving that clips or hooks directly onto the bed frame itself.
It adds storage and display space right where you need it, without touching the walls at all, and it comes down just as easily when it’s time to move out.
Working within these limits doesn’t mean the bed has to look bare, it just means choosing pieces built to hold up without leaving a trace behind.
The right lighting can completely transform the mood of a room, and Modern Home Lighting Inspiration offers stylish ideas that balance function, ambiance, and contemporary design.
Making Your Shared-Room Bed Feel Private
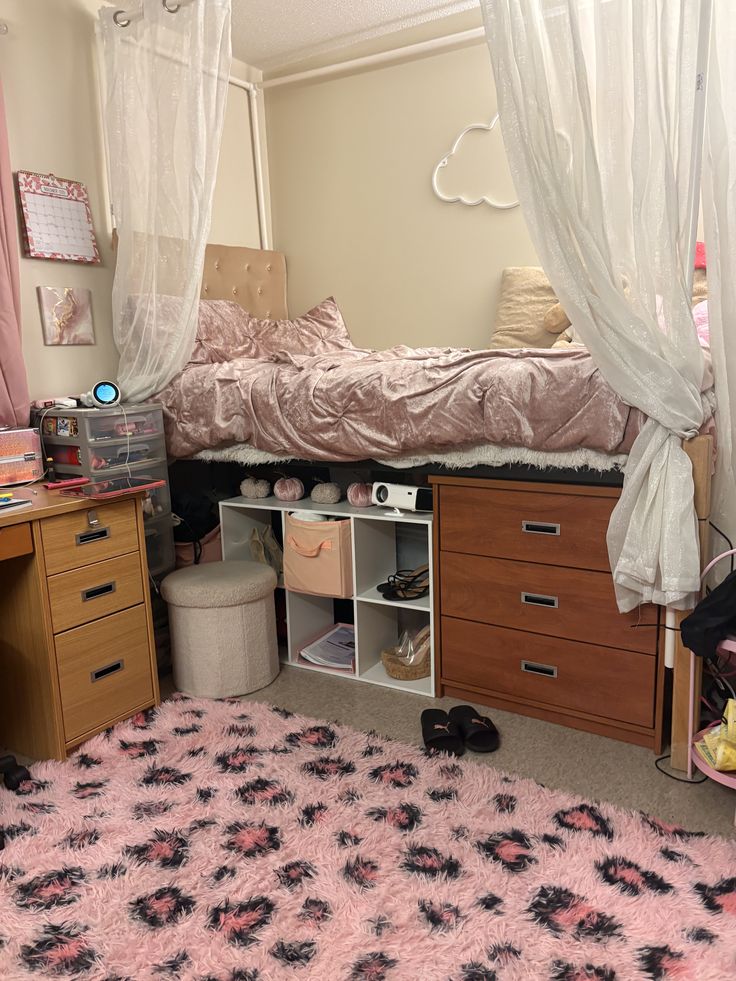
A shared dorm room rarely gives you a door to close or a room to retreat to. Most of the time, the closest thing to privacy is whatever’s happening on your side of the bed, which is exactly why this part of a dorm bed makeover matters more than it looks like on the surface.
It’s not really about aesthetics here. It’s about the feeling of being fully visible, all the time, in the one space that’s supposed to be yours.
If your dorm bed is lofted or bunk-style, a tension-rod curtain hung along one open side can close that gap off entirely, no drilling, just pressure-fit support that holds a simple curtain panel in place.
Pull it closed, and suddenly there’s a version of a door, even in a room that was never built to have one.
A fabric canopy works the same way from a different angle, draped over the bed frame or hung from a ceiling hook, it softens the edges of the space and creates a sense of enclosure without needing four walls to do it.
Neither of these is really about making the bed look prettier. They’re about giving you back a version of privacy in a room where very little of it exists, which might be the most meaningful part of this whole dorm bed makeover.
Vertical Space and Storage-Smart Styling
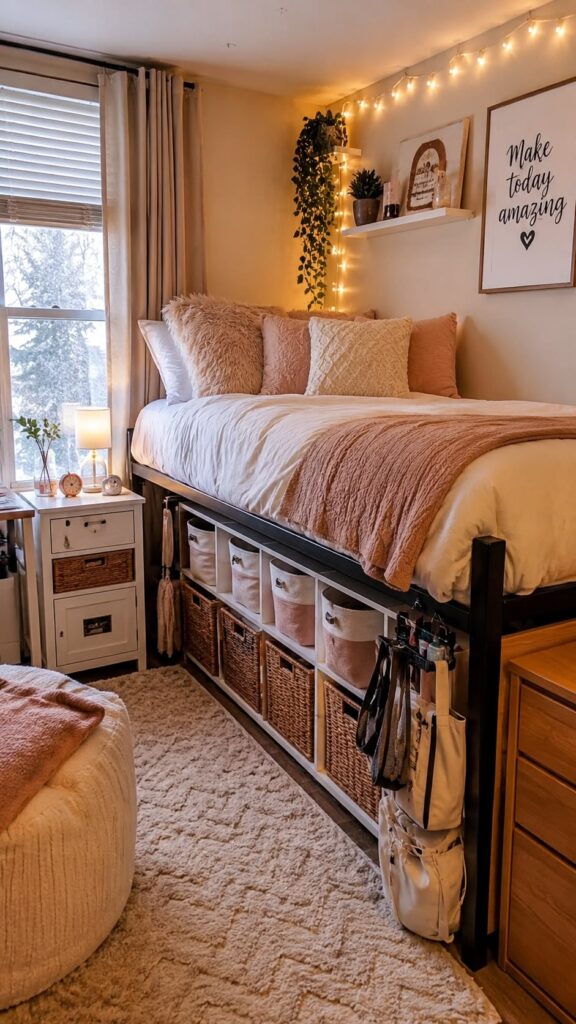
Storage is what makes or breaks a dorm bed makeover, even though it’s not the part people search “cute” for. Get it right and the rest of the room has space to actually look good. Get it wrong and the room stays cluttered no matter how nice the bedding is.
Bed risers, with a real caution attached. Risers can open up useful space under the bed, but they’re not allowed everywhere. Some schools restrict or ban them for stability reasons, so check your housing handbook before you buy any.
If they are allowed, match the riser to your bed frame’s material and leg size, and don’t assume taller is better.
Several housing safety guides recommend staying around 5 to 6 inches rather than going up to the taller 10 to 12 inch options, since more height can make the frame less stable, especially if the frame wasn’t built for it. Many schools also don’t allow cinder blocks or books as a stand-in for real risers, for the same reason.
Under-bed bins sized to your actual clearance. This step only works if you measure first. A raised Twin XL frame can clear anywhere from about 9 to 30 inches depending on how your school’s frame is set, so buying a bin without measuring means it either won’t fit or you’ll waste space you could have used. Measure your specific clearance before you buy.
Over-headboard shelving without a single nail. Tension-mounted shelves, shelf brackets that hook onto the bed frame itself, and narrow freestanding shelving units placed flush against the wall all give you extra storage without breaking a no-holes rule.
This is the part that makes a dorm bed makeover look finished instead of thrown together, storage that looks planned, not stacked on top of itself.
The Feels Like Home Layer — Anchor Objects, Not Just Aesthetics
Smell and touch settle a new room faster than anything you look at. A familiar scent or texture can make a space feel like yours before you’ve even had time to think about it. That’s why a few small, sensory items do more work than a whole wall of decorations.
A few concrete ways to use that:
- A pillow or pillowcase washed in your home detergent. The smell is the point, not the pillow. Bring it unwashed for the first couple of weeks if you can, then keep washing it in the same detergent so the smell stays familiar.
- A blanket you’ve actually used before. Something you already know the feel of will do more for you at night than a new one bought just to match the room.
- One small object that already has history. A worn keychain, an old mug, anything you’ve had long enough that it means something. It doesn’t need to be on display. It just needs to be yours.
Seasonal updates don’t have to be expensive, and Summer Home Decor Ideas to Refresh Every Room shares simple ways to bring a lighter, brighter, and more welcoming feel to your home
Budget – Where to Spend, Where Not To
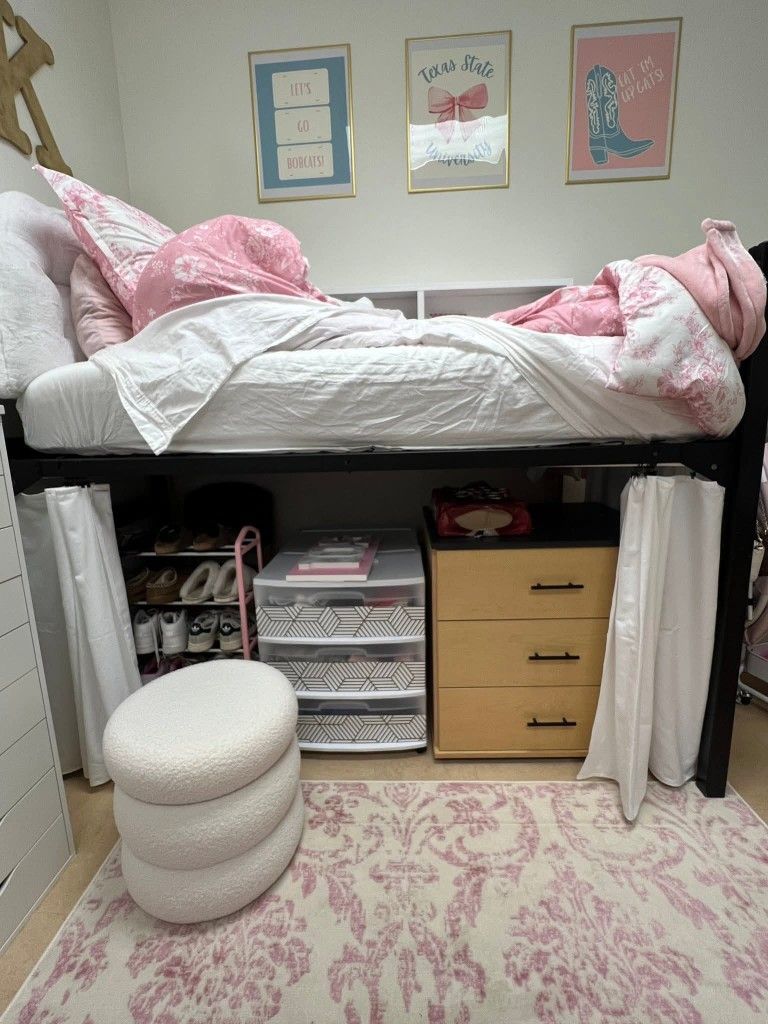
You don’t need to spend the same amount on everything in this makeover. Some purchases affect your sleep every night for months.
Others are decoration that won’t last the year. Splitting your budget this way helps you spend well instead of spending evenly.
-
Topper: spend here
You’ll feel this one every night, so it’s the item worth the most money. A basic egg crate foam topper is cheap, usually under $30, but it flattens and tears within a semester or two.
A memory foam or gel topper costs more, usually $60 to $150 depending on thickness, but it holds its shape for the full year and makes more difference in comfort. If you only spend well on one thing in this list, make it this.
-
Bedding: spend moderately
Sheets, duvet covers, and comforters go through a lot of washing in shared laundry machines, which are rougher on fabric than a home washer.
A mid-range option, a decent cotton blend instead of the cheapest polyester set, will hold up better through repeated washes. You don’t need the most expensive bedding available, just something a step above the bottom shelf.
-
Decor: spend little.
Throw pillows, wall art, string lights, small accents, this is where it’s fine to buy cheap. Most of it doesn’t come home at the end of the year. It gets donated or left behind during move-out. Spending more here doesn’t make the room noticeably better, so there’s not much reason to.
Conclusion
None of this was ever about making your dorm room look good in a picture. It was about walking in after a long day and having the space respond to you, a smell you know, a texture your hands recognize, a bed that’s actually comfortable to collapse onto.
That’s really what a dorm bed makeover should do. Not impress anyone who visits. Just make one rectangle of space feel like it’s yours.
The other part worth remembering: everything in this guide is reversible. The topper, the bins, the shelving, the anchor objects, none of it requires damaging the room or leaving anything behind.
That’s on purpose. This isn’t a one-time decorating project tied to one room. It travels with you, to the next dorm, the next apartment, wherever you end up next. Set it up once, and you can rebuild it anywhere in an afternoon.
Start with the topper and the anchor object. Everything else can follow once those two are in place.

