

Awkward, stiff beach photos? These beach bikini poses for every body type show the small tricks that make any shot look effortless.
Beach bikini photos live or die on three things most people never think to adjust: where the camera sits relative to your body, which direction the sunlight is coming from, and how far away the shot is taken from.
Get those right, and almost any pose looks natural and effortless. Miss them, and even a great pose can fall flat in the photo.
This guide breaks down exactly what to adjust, camera angle, light, distance, and movement, so your beach photos actually reflect how good you look in person, no matter your body shape or who’s holding the camera.
The right finishing touches can completely transform an outfit, and Fashion Accessories for Women showcases timeless and trendy pieces that help you elevate your style with minimal effort.
The 3 Technical Basics That Matter More Than The Pose Itself
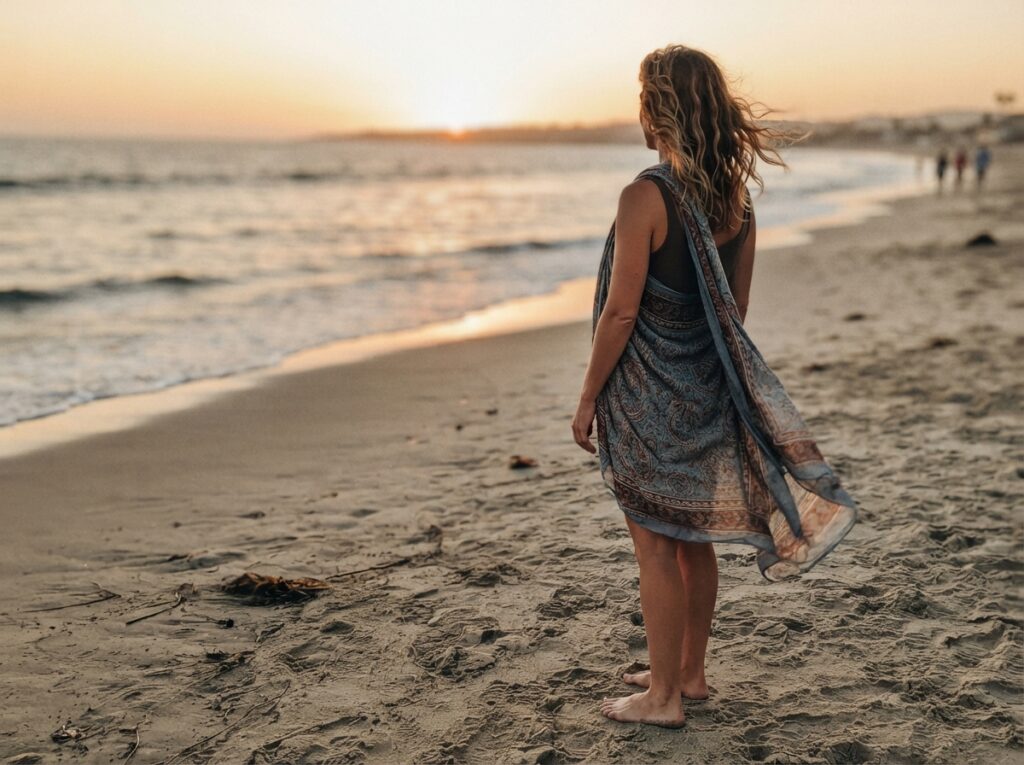
✅ Camera Angle: Why Slightly Above Beats Eye-Level
The angle a photo is shot from changes how your body reads in the frame, this is optics, not opinion.
- Shooting from slightly above (camera raised a bit higher than your eyeline, tilted down) elongates the torso and legs and softens the midsection, because it shortens the visual distance between your head and shoulders while lengthening what’s below.
- Shooting from eye-level or below does the opposite — it can widen the torso and shorten legs, since the camera compresses the vertical space above it and expands what’s closer to the lens.
- A simple fix: have the photographer (or propped phone) sit slightly higher than your standing height, even a small step-stool or raised sandbank works.
✅ Golden Hour vs. Midday Sun: Why Timing Changes Everything
Light direction and softness affect skin tone, shadow placement, and how defined (or harsh) your features look in-frame.
- Golden hour (the hour after sunrise or before sunset) gives low-angle, warm, diffused light that wraps around the body instead of casting hard shadows, this is why professional beach shoots are rarely scheduled at noon.
- Midday sun sits almost directly overhead, which creates harsh downward shadows under the eyes, nose, and chin, and tends to wash out or overexpose lighter skin tones while creating high-contrast patches on darker skin tones.
- If midday is the only option, face the sun rather than having it behind you, backlighting at midday causes silhouetting, while front-facing light (even if harsher) at least keeps your face and body visible and even.
✅ Distance and Lens Compression: The Phone Camera Trap
How close the camera is to you changes your proportions, this is a lens effect, not a body issue.
- Phone cameras use a wide-angle lens, which exaggerates whatever is closest to it. Shooting close-up distorts the nearest body part (often the legs, hips, or hands) making them look larger than they are.
- Stepping back and zooming in slightly (or having the photographer stand farther away) reduces this distortion because it flattens the perspective, this is the same reason portrait photographers rarely shoot close-up with a standard wide lens.
- A useful reference: keep at least 6–8 feet of distance between camera and subject for a full-body beach shot, more if using a phone’s main (non-portrait) lens.
Beach Bikini Photo Poses Idea
1. Poses by Body Goal, Not Generic Body type Labels

Pose advice built around vague body-type categories often misses the point, what actually changes a photo is which specific adjustment you’re making, not which “type” you supposedly are.
Elongating the torso
A slight twist at the waist, with shoulders angled away from the camera while hips stay forward (or vice versa), creates visible separation between the upper and lower body instead of a flat, head-on silhouette.
How to pose:
- Shift weight onto the back leg and let the front leg bend slightly, this adds a natural curve to the torso line, rather than standing with weight distributed evenly on both feet.
- Raise one arm to rest on the head or hip instead of letting both arms hang straight down, this opens up the waistline and creates a visible gap between the arm and torso.
Highlighting shoulders and collarbones
Tilting the chin down slightly while the shoulders roll back and down (not up toward the ears) draws the eye to the collarbone area and keeps the neckline elongated.
How to pose:
- Angle the body three-quarters to the camera, rather than facing it head-on, to show the natural line of the shoulder and collarbone.
- Sweep hair to one side or pull it up to keep the shoulder-collarbone area unobstructed in the frame.
Softening a self-conscious area without stiffness
Motion, walking, wading into water, a hair flip mid-turn, naturally shifts weight and posture in ways that are hard to fake standing still, and it draws attention to the motion itself rather than a static problem area.
How to pose:
- Hold a sarong, towel, or hat loosely (not clutched) to soften a section of the body in-frame without the stiffness of crossed arms or hunched shoulders.
- Sit or crouch at an angle, rather than standing straight-on, to change how the torso and midsection compress in the frame.
Sitting or lying poses vs. standing poses
Sand-level poses (sitting, kneeling, lying on a forearm) work differently from standing poses because they change the camera’s relationship to the body’s proportions.
How to pose:
- Lie on one side, propped on a forearm, with the top leg slightly bent, this creates a natural waist-to-hip curve that’s harder to achieve standing.
- Sit with knees drawn up and turned to a slight angle, rather than pointed straight at the camera, for a more flattering seated pose.
- For standing shots, add a slight walk or weight shift, a static standing pose photographed straight-on tends to look more posed than a sand-level shot.
2. Movement-Based Poses That Read More Natural Than Static Ones
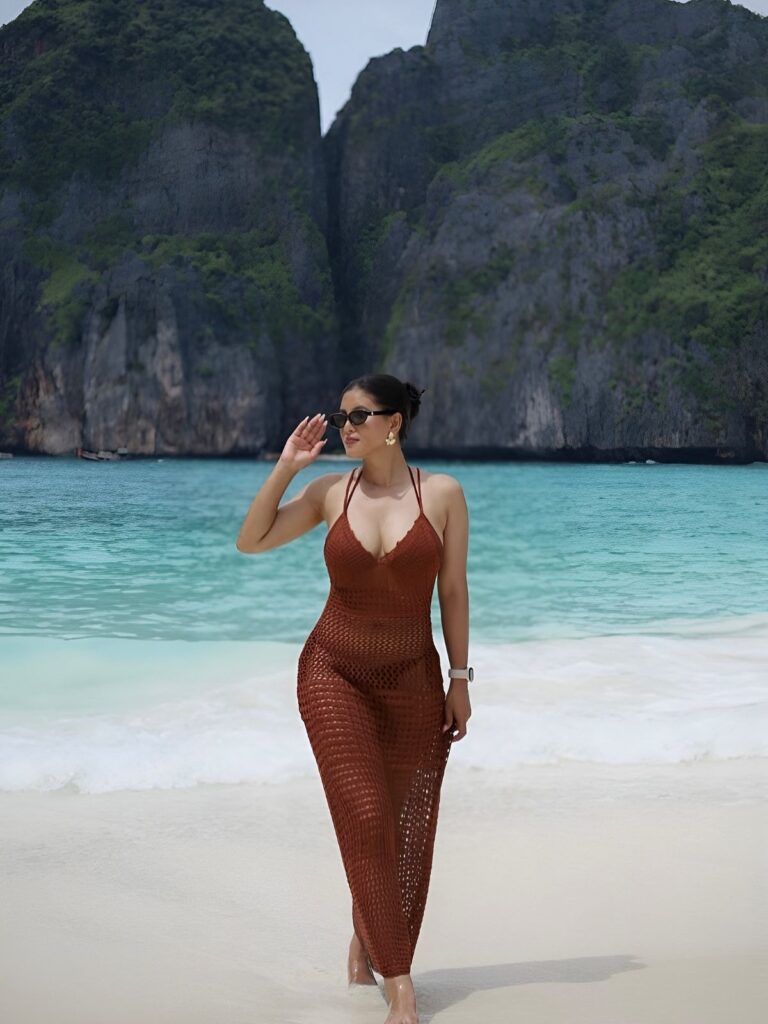
Static poses can look posed no matter how well they’re set up, motion solves this by shifting weight and posture in ways that are difficult to fake while standing still, which is why so much of the best beach bikini poses for every body type advice centers on movement rather than stillness.
Walking shots
A mid-stride shot, captured just as one foot lifts off the sand, creates natural movement in the hips and arms without any deliberate posing.
How to pose:
- Walk toward or past the camera at a normal pace and have the photographer take several shots in a burst — the best frame is usually mid-step, not at the start or end of the stride.
- Let arms swing naturally rather than holding them stiffly at the sides; a relaxed arm swing reads as candid rather than staged.
Hair flip or head turn
A quick head turn or hair flip captured mid-motion adds energy to a photo and avoids the flat look of a static forward-facing shot.
How to pose:
- Turn the head or flip the hair to one side, and have the photographer shoot on a slight delay (just after the motion peaks) rather than at the exact moment of movement, since a burst mode or continuous shooting setting captures this more reliably than a single shot.
- Keep the shoulders relaxed during the motion, tensing up to “hold” the pose defeats the natural effect motion is meant to create.
Wading into water
Walking into or out of the water creates a natural forward lean and weight shift that’s hard to replicate standing on dry sand.
How to pose:
- Walk slowly into the shallows and have the photographer capture the moment a wave breaks around the legs — the water’s motion adds visual interest without extra effort.
- A slight forward lean, as if bracing against the water, naturally elongates the back and legs in the frame.
Directed candid prompts
For anyone shooting with a friend or partner rather than a professional photographer, simple prompts work better than static pose instructions, since they produce natural movement without requiring photography experience from either person.
How to pose:
- Ask the photographer to say “walk toward me and stop when I say” or “laugh and look away” rather than “pose like this”, reaction-based prompts produce more natural body language than mirrored poses.
- Take several shots in a row during each prompt rather than a single frame, since the most natural-looking moment is rarely the first one captured.
Solo Shooting Tips: Getting the Shot Without a Photographer

Shooting alone doesn’t mean settling for a stiff, camera-facing selfie, the same principles that make photographer-directed shots look natural (angle, distance, movement) apply just as well to a phone propped on the sand, once the setup is right.
Stabilizing the phone
A phone laid flat on sand tilts upward at an awkward angle, which distorts the shot before the pose even matters.
How to set up:
- Wedge the phone into a dry sand mound at the angle needed, or use a small travel tripod with adjustable legs that can grip uneven sand, this keeps the camera at true eye-level or slightly above, rather than pointed up from ground level.
- A water bottle, cooler, or beach bag can also work as a stable base if angled correctly against a rolled towel for tilt.
Using timer and burst settings
A single 3-second timer rarely gives enough time to walk into position and settle into a natural pose.
How to set up:
- Use a 10-second timer with burst mode (most phone cameras support this natively) so multiple frames are captured automatically once in position, rather than relying on one perfectly-timed shot.
- Some phones support a repeating timer or interval shooting mode that takes a photo every few seconds, useful for capturing a sequence of movement (walking, turning) without repeatedly returning to reset the timer.
Remote triggers
A Bluetooth remote shutter or smartwatch camera control removes the need to rush back to position after tapping the screen.
How to set up:
ns- Small Bluetooth remotes (often sold as “selfie remotes”) pair with most phone cameras and can be held discreetly in a hand or hidden just out of frame.
- A paired smartwatch with a camera app can also trigger the shutter remotely, giving more control over exact timing than a fixed timer.
Framing without a second person to check the shot
Without someone confirming the frame looks right, it’s easy to end up cropped oddly or off-center.
How to set up:
- Use the phone’s grid overlay (in camera settings) to line up the horizon and roughly center where the body will stand, before starting the timer.
- Take a test shot first, check the framing, and adjust the phone’s angle or distance before running the full sequence, this avoids retaking dozens of shots after the fact.
Common Posing Mistakes That Make Photos Look Worse, Not Better
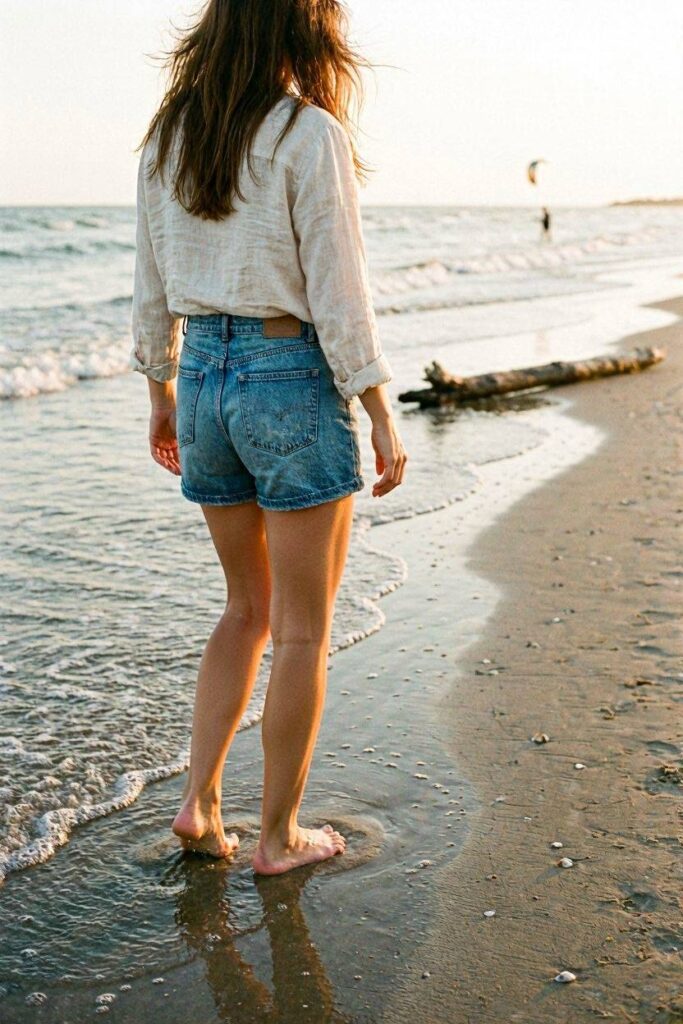
Even with the right angle, light, and setup, a handful of small habits can undo an otherwise good shot, knowing what to avoid matters just as much as knowing what to do when working through beach bikini poses for every body type.
✅ Beach Bikini Photo PosesTensing the shoulders
Shoulders that creep up toward the ears, often an unconscious reaction to feeling self-conscious in front of a camera, shorten the neck and add visible tension to the whole upper body in the photo.
What to do instead:
- Roll the shoulders back and down, then take a slow breath out right before the shot is taken — this relaxes the trapezius muscles that cause the raised, tense look.
- If shoulders keep creeping up between shots, shake out the arms briefly before resetting the pose, rather than trying to consciously hold them down.
✅ Hands on hips, flat to the camera
A flat, frontal hands-on-hips pose is one of the most common default poses, and one of the least flattering, because it squares the whole body to the lens and removes any natural curve or angle.
What to do instead:
- Turn the body slightly to a three-quarter angle before placing a hand on the hip, rather than facing the camera head-on.
- Bend the wrist slightly instead of resting the hand flat against the hip, a soft wrist angle reads more natural than a stiff, flat-palm placement.
✅ Squinting into direct sun
Facing directly into strong sunlight causes an involuntary squint that reads as strain in the final photo, no matter how relaxed the rest of the pose looks.
What to do instead:
- Angle the face slightly away from the sun’s direct path, or position the body so the sun hits from the side rather than straight-on, this reduces squinting while still keeping even light on the face.
- Shoot during golden hour when possible, since the lower sun angle produces softer, less squint-inducing light than midday sun.
Getting Photos That Actually Look Like You
The difference between a beach photo that feels forced and one that feels effortless usually isn’t the pose at all, it’s the handful of technical choices behind it: where the camera sits, which way the light falls, how far away the shot is taken from, and whether the body is moving or frozen in place.
Once those pieces are in place, beach bikini poses for every body type stop being about finding the “right” pose for a body type and start being about small, deliberate adjustments anyone can make, regardless of build, experience, or who’s holding the camera.
The next beach trip is a good time to put this into practice, pick two or three adjustments from this guide (a camera angle change, a golden-hour timing shift, one movement-based pose) rather than trying to apply everything at once. Small changes compound, and the results show up in the photos.
Got a beach trip coming up? Try one of these setups on the next sunny day and see the difference a few small adjustments make.